
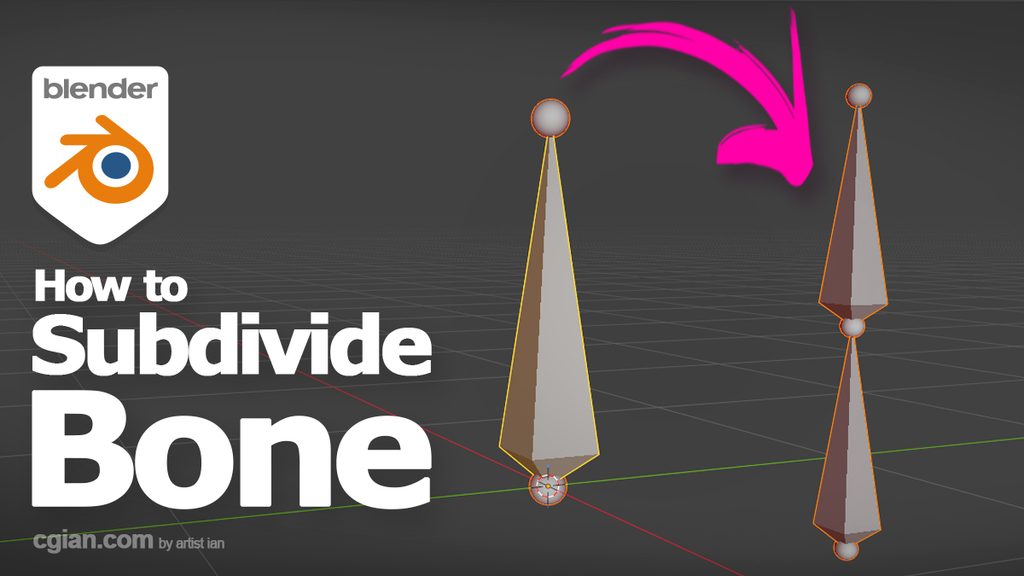
Blender tips and tricks, tutorial video shows how to subdivide armature bones in Blender. In this tutorial, we will go through the steps to add bone using Armature. Then will can go to Edit Mode to subdivide the armature bone. Steps are easy to follow for Blender beginners. Happy sharing and save it for later. More Blender Tutorial are available here.
How to subdivide armature bones in Blender
We can follow these steps to Subdivide Armature bone in Blender,
1. In object mode, go to Add > Armature
2. Then, an Armature bone is added
3. Select the bone , and press shortcut Tab to go to Edit Mode
4. Select the bone that wants to Subdivide
5. Use Right Click to open option menu, and choose Subdivide
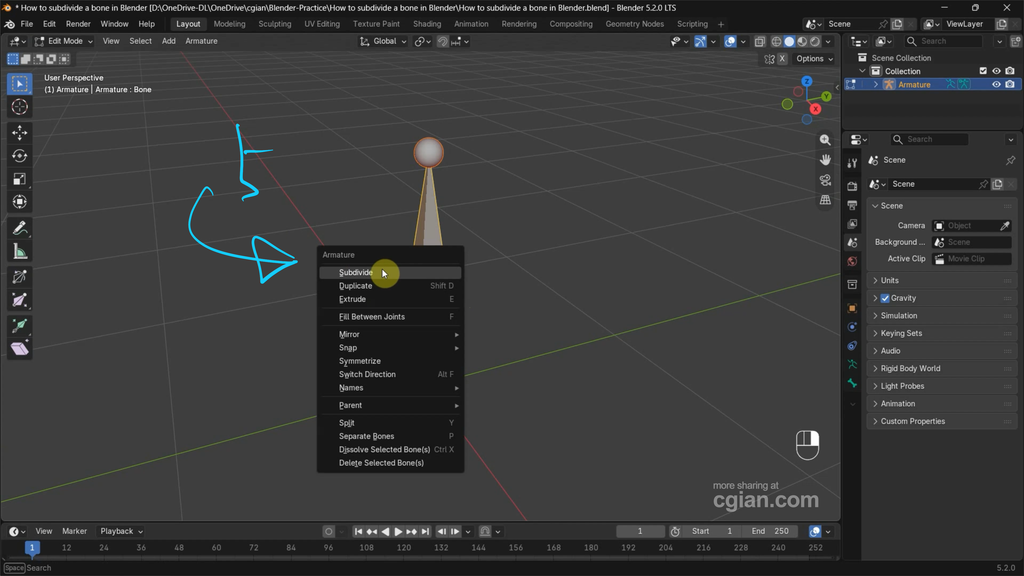
Furthermore , we can find all the steps visually in this YouTube video, watch here,

Timestamp
0:00 Intro – How to subdivide a bone in Blender
0:10 Add Armature
0:17 Go to Edit Mode
0:21 Subdivide a bone
0:29 No of Cuts of Subdivide
by artist.b@cgian.com
Have fun with CG. Let’s Create!
Continuous Reading:
Blender Character Modeling for Beginners
Blender 3D character modeling step by step
Feel free to share this post with your friends or send it to yourself to bookmark it
