Render Passes are for different outputs that is generated by one rendered scene setting. For example, we can render the scene with the shadow pass, lighting pass, z pass, ambient occlusion pass individually. We can use these Render Passes to be render layers separately that composite the image or animation for getting better quality of visual effects. To enable Render Passes in Blender, we can follow the below steps to get different kinds of render pass output. Hope this helps. More Blender Tutorial, Tips and Tricks are available here.
How to enable Render Passes in Blender
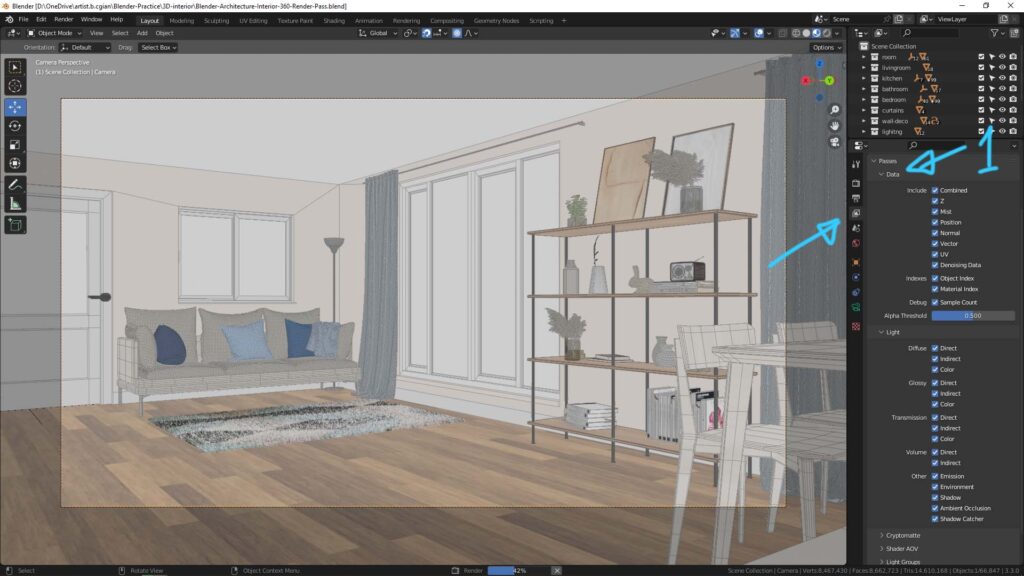
1. After setting a scene that is ready for rendering, we can go to “View Layer Properties”, under the “Pass”, we can check to boxes that the passes we want to obtain after rendered.

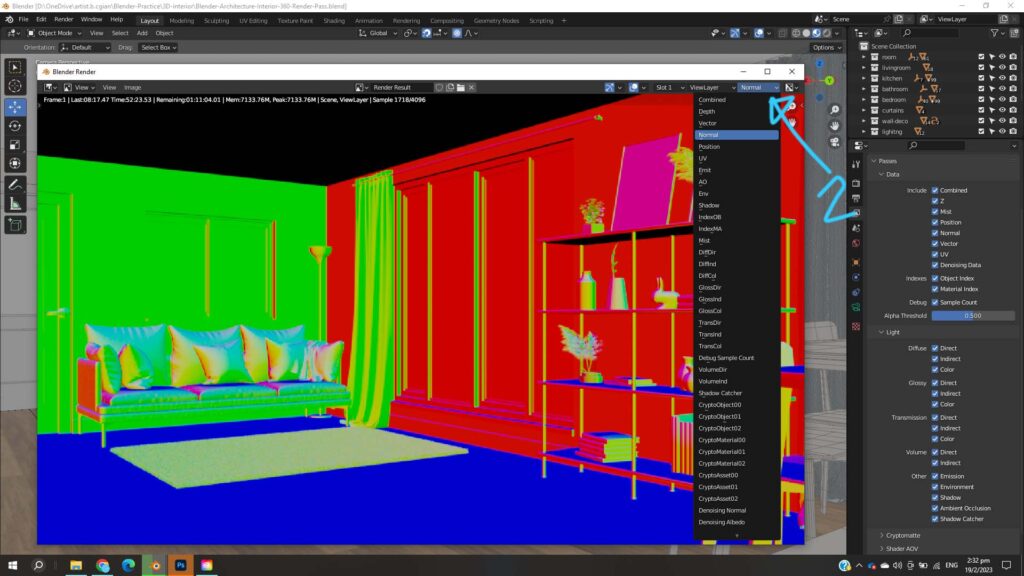
2. Then we can start to render. After rendered, we can get the render pass in the output location, and we can preview the pass by selecting them on the top right corners. Below screenshot shows the Normal Pass after rendered the scene.

Hope this helps. More Blender Tutorial, Tips and Tricks are available here.
Continues Reading:
Blender Tips – How to reset 3D cursor to origin
How to select Vertices, Edges, Faces behind object in Blender
Way to move object in Blender, Basics for beginners
How to render in Blender for beginners step by step
Tips and Tricks
from artist.B
Welcome to share by using below buttons.
