Blender 3D text tutorial for beginners, these are quick steps to make 3D text in Blender. In Blender, we can add text, change text, and change fonts type. If we extrude the font, we can get the 3D text in Blender. Follow the steps as per below, hope this helps.
Blender 3D text tutorial
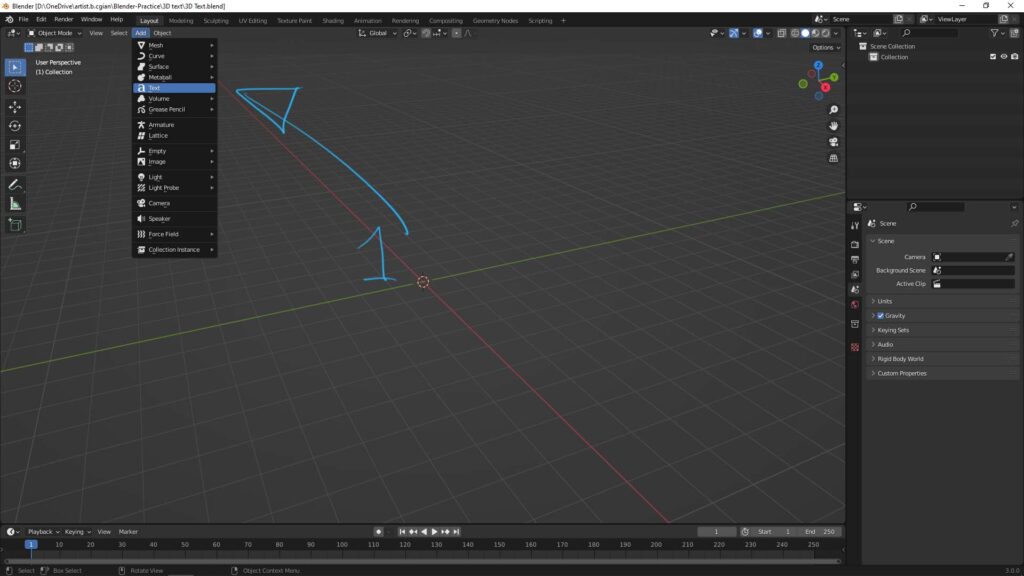
1. Firstly, we can add Text into the drop down menu as per below screenshot, or we can use shortcut Ctrl A to open this menu.
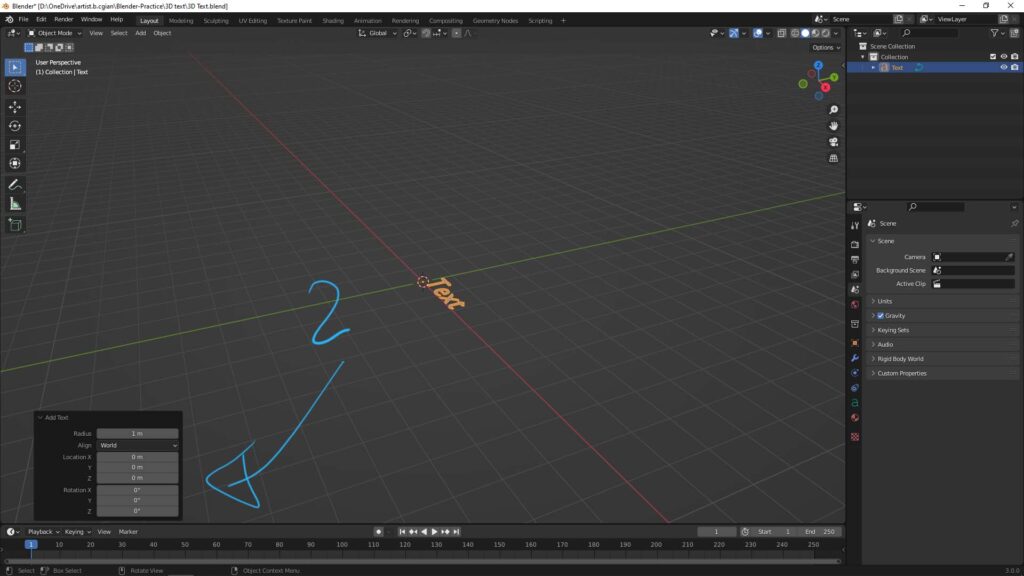
2. After adding the text, we can adjust the text size, text orientation at the bottom-left panel
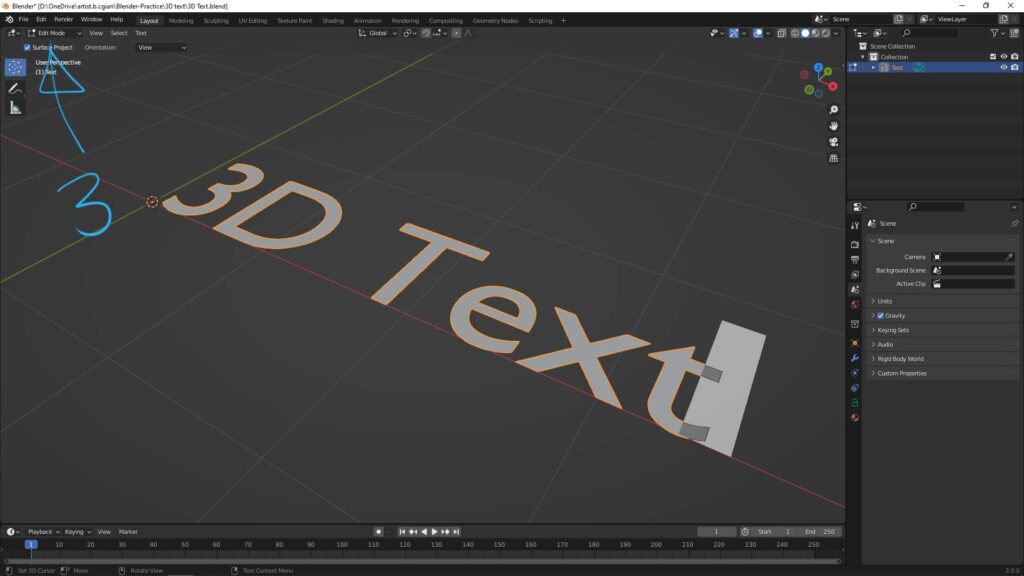
3. To change the text, make sure that the Text is selected. Then we can go to Edit Mode, and change the text by typing.
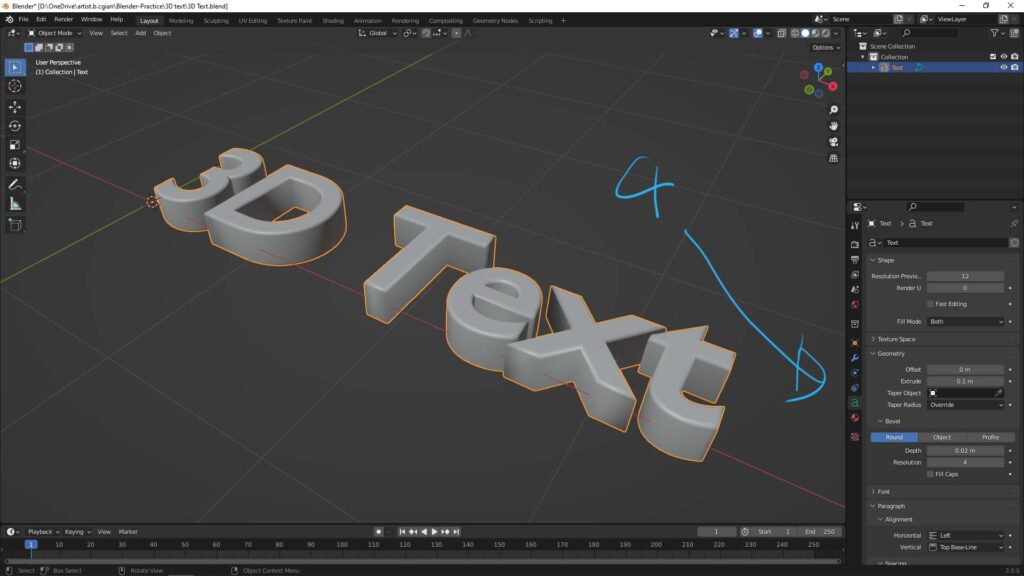
4. After changing the text, go back to Object Mode. Then go to Object Data Properties on the right panel. In the Geometry, we can increase the value of Extrude, then we can get the 3D text. If we want to add round edges, we can add Bevel in the same panel.
5. Furthermore, if we wan to change color and material to this 3D text, we can go to Material Properties and add a new Material, and change this Material settings.
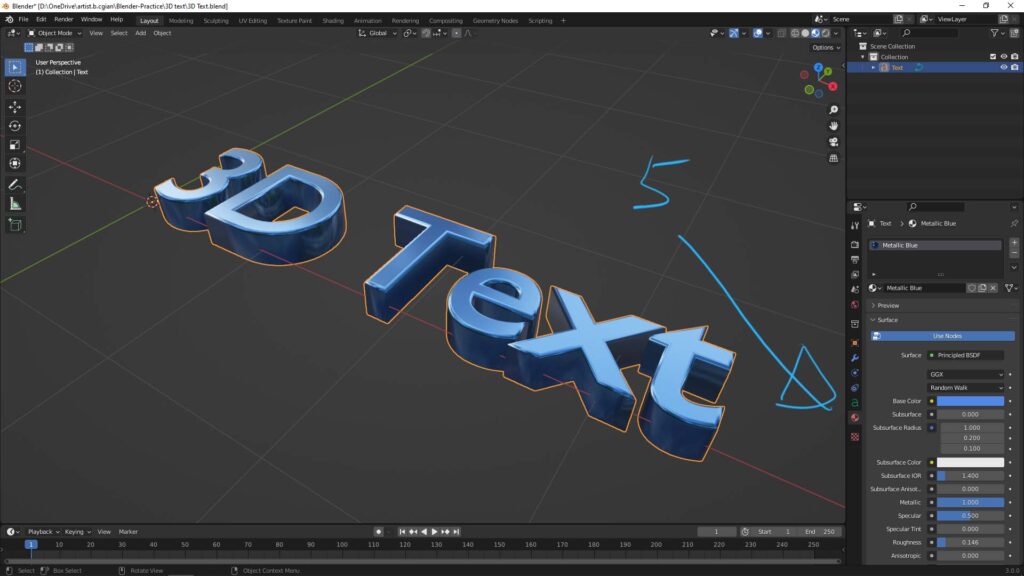
Hope this helps. More Blender Tutorial, Tips and Tricks are available here.
Have fun with CGI, to make it simple.
#cgian #aritstB #b3d #blender
Continues Reading :
How to make Blender SVG to Logo 3D Model
How to change text font in Blender
Blender 3D Logo Tutorial – 3D Modeling for beginners
Welcome to share with your friend.
by [email protected]
