
Quick tip shows how to change camera to portrait in Blender. The default setting of camera view in Landscape with resolution in 1920 x 1080 pixels. If we want to change camera view size from landscape to portrait, we can change the resolution in Object Properties of Camera. Below tuotrial and video will show the steps. I hope this helps.
How to change camera to portrait in Blender
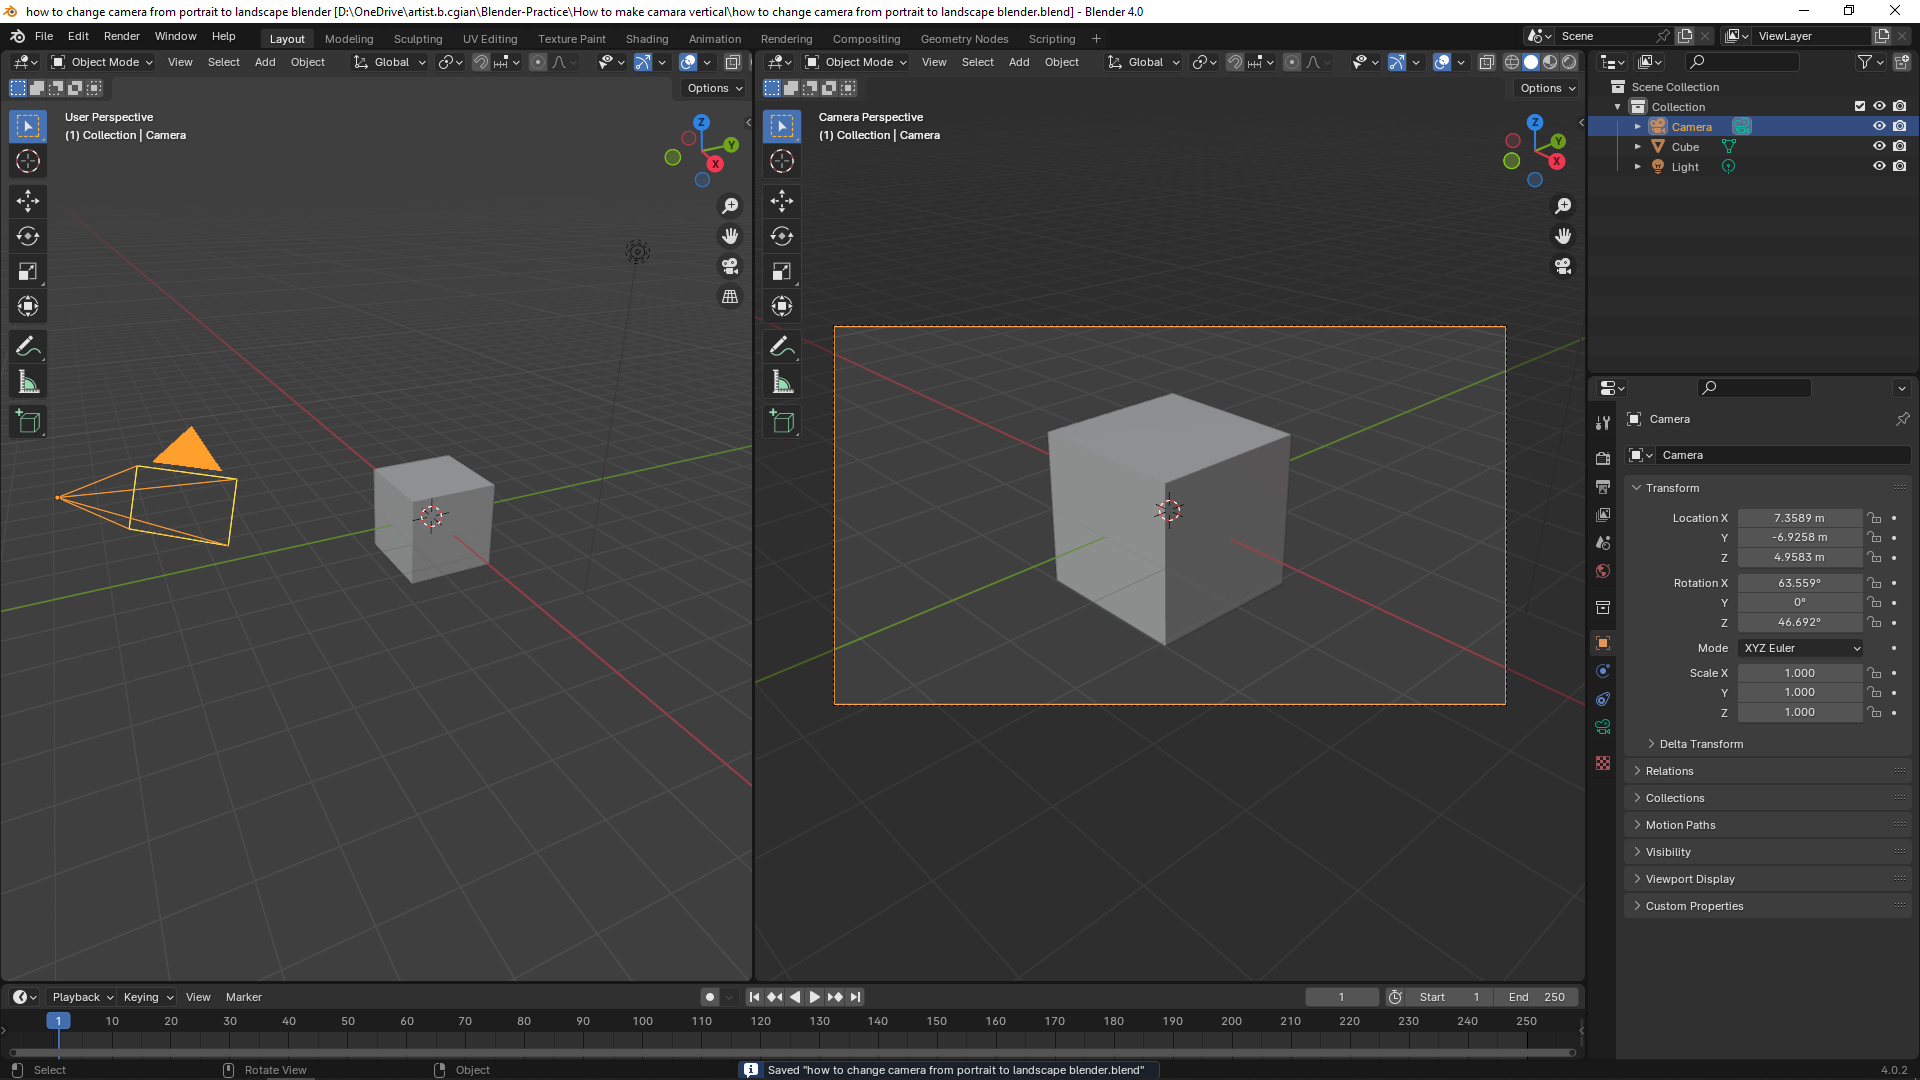
Below screen show is the default scene after starting Blender, then I split the viewport into 2 to show the camera setting clear.
1. Select Camera, and Go to Output Properties,
2. Under Format, we can set resolution in X and Y values. For example, we can enter 1080 x 1920 px into Resolution X and Y, as below screenshot,
3. Then, the camera view will be set from Landscape to Portrait.
How to change camera from portrait to landscape in Blender
It is almost same as the steps to change camera view size showed in upper section. We can follow below steps,
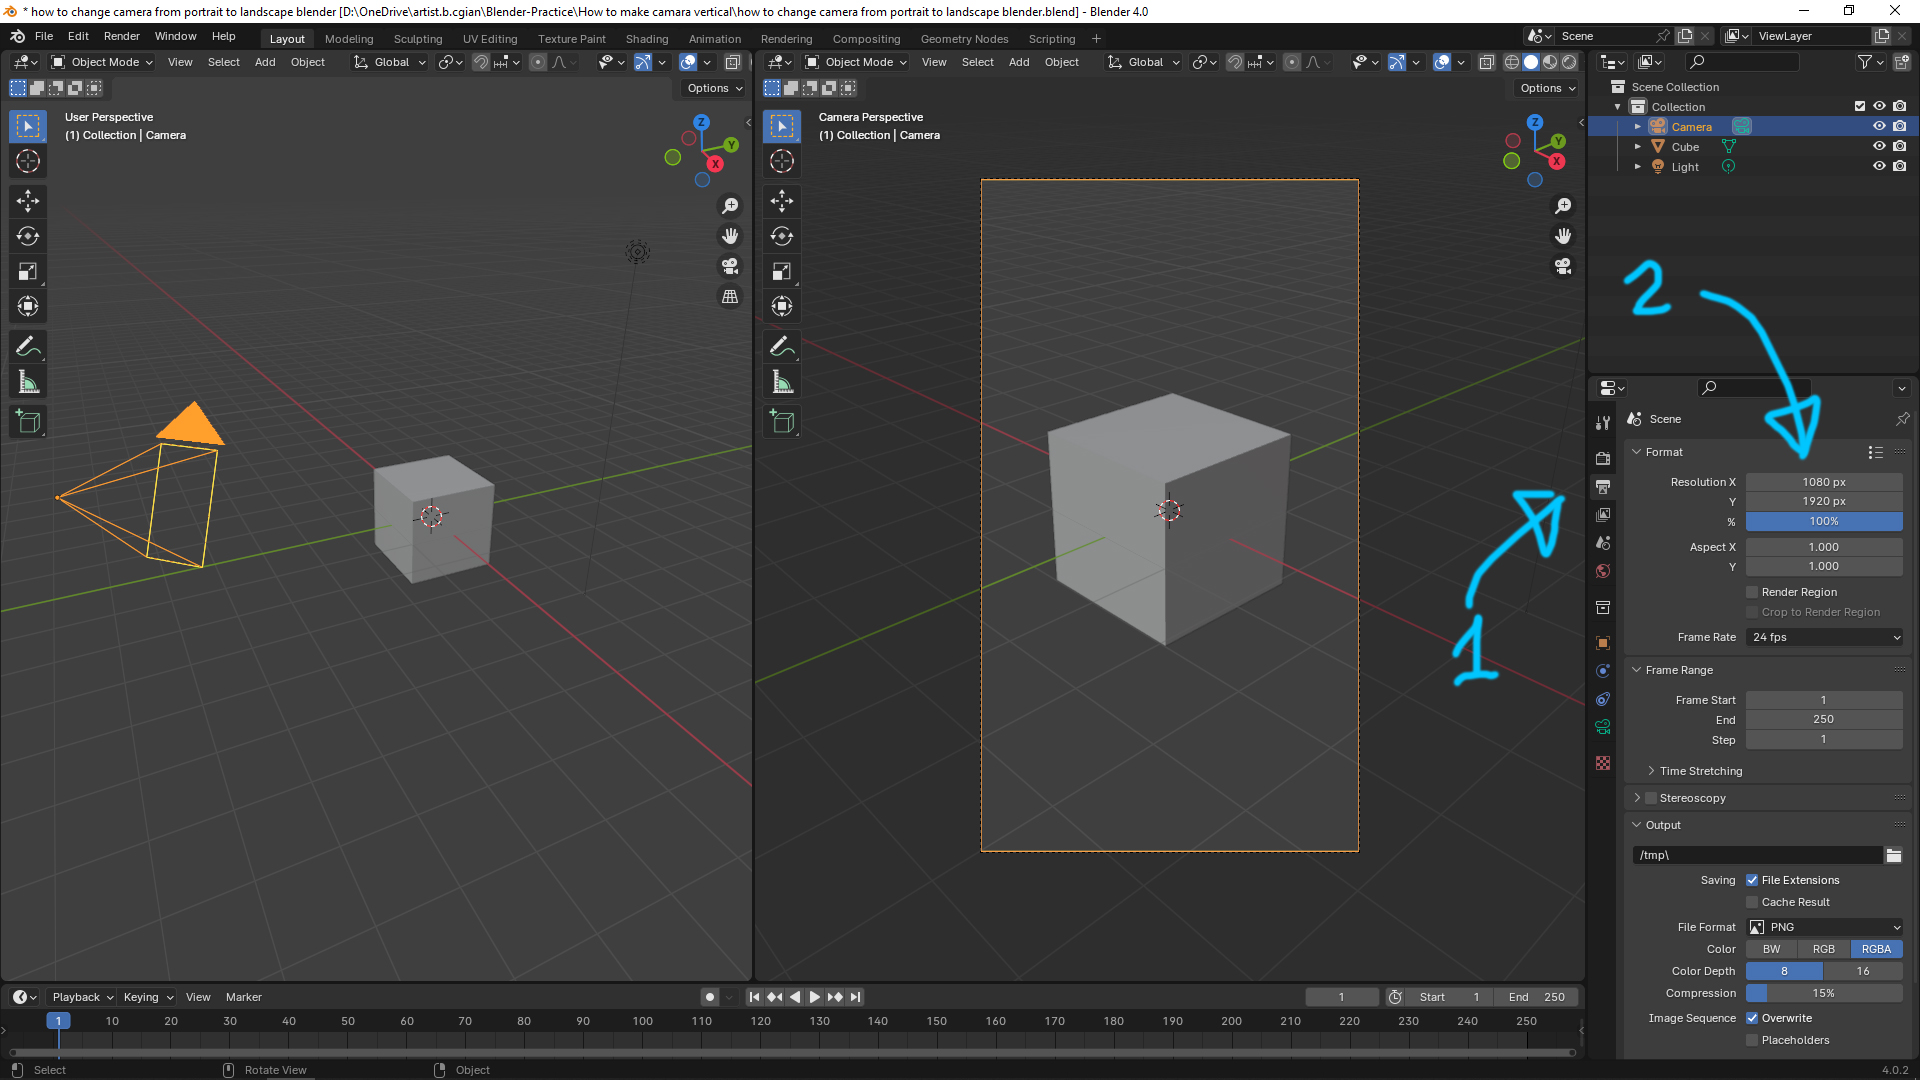
1. Select Camera, and Go to Output Properties,
2. Under Format, we can set resolution in X and Y values. For example, we can enter 1920 x 1080 px into Resolution X and Y,
3. Then, the camera view will be set from Portrait to Landscape.
Watch the steps visually in Blender tutorial on YouTube,

Hope this helps. More Blender Tutorial, Tips are available here.
#b3d #blender #cgian
Continues Reading:
How to add camera in Blender
How to change camera aspect ratio and view size in Blender
Blender Camera Size, Focal Length, and Depth of Field Settings
Tips and Tricks
from artist.B
Welcome to share by using below buttons.
