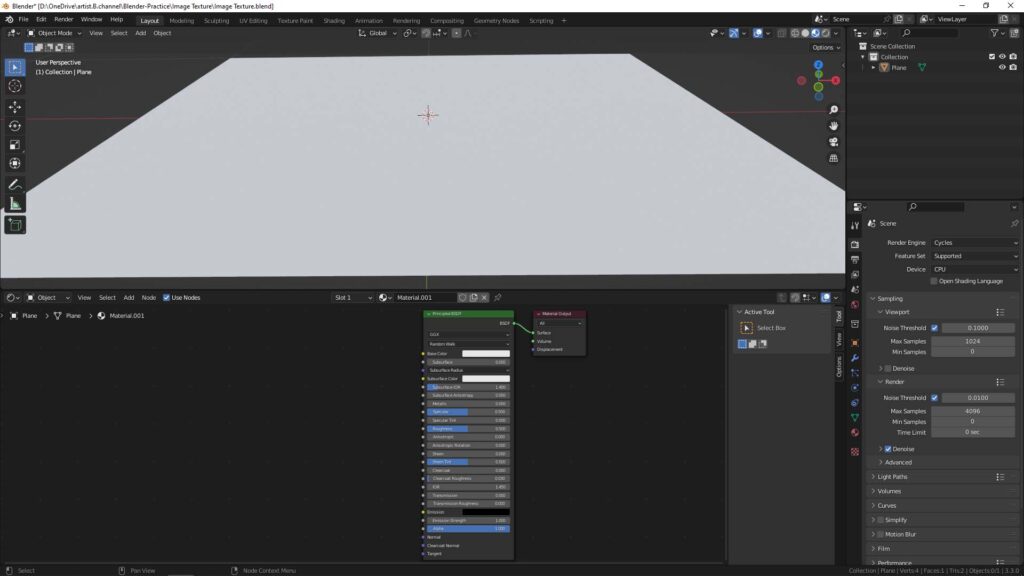
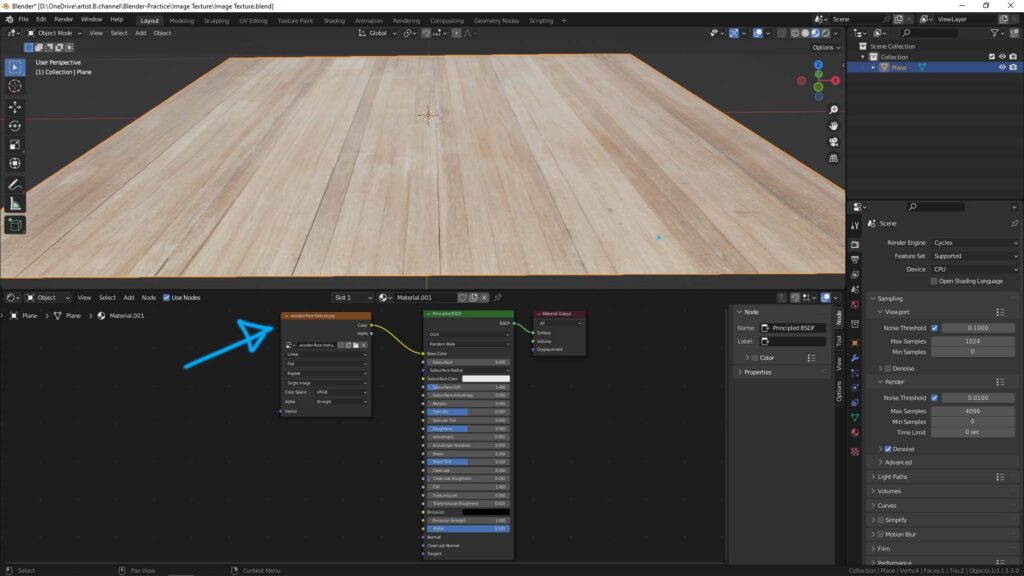
Blender Tutorial to show how to add image texture in Blender. Image Texture Node is useful node to add image into 3D object. We can use Image Texture Node to link between the shader and the image file, like as PNG, JPG, TIF file format. Below is an example showing that we can add wood texture image to be a wooden texture floor. Hope this hope. More Blender Tutorial, Tips and Tricks are available here.
How to add image texture in Blender
1. Select an object, and go to Shader Editor, then add a new Material.

2. Shortcut Shift A to add, and search “Image Texture” and select.
3. Image Texture Node is added and then link the image file, such as JPG, PNG, or other image file format.

Furthermore, here is the video that go through how to add wood image texture into floor of the house.
Have a look on YouTube Tutorial Video here,
If you are interested to add albedo map, roughness map, normal map, displacement map using texture images, please visit here, How to add image texture mapping in Blender
Hope this helps. More Blender Tutorial, Tips and Tricks are available here.
Have fun with CGI, let’s create!
#cgian #aritstB #b3d #blender
Continues Reading :
Steps to add decal to object in Blender
Blender How to import image as plane with transparent
How to Fixed Face Orientation and Flip Normals in Blender
How to move, rotate, scale Image Texture in Blender
Feel Free to share with your friend.
by [email protected]
