
Here is a tutorial to show how to render in Blender for beginners step by step. Assume that we don’t have anything in Blender, below is the checklist that we should do for making a 3D rendering from nothing. Steps are easy to follow for Blender Beginners, hope this helps.
Checklist to make 3D render in Blender
1. Add 3D Object
2. Add Material to 3D object
3. Add Camera
4. Add Light
5. Set Render Engine
6. Set Output Properties
7. Start Render
How to render in Blender for beginners step by step
Before Start
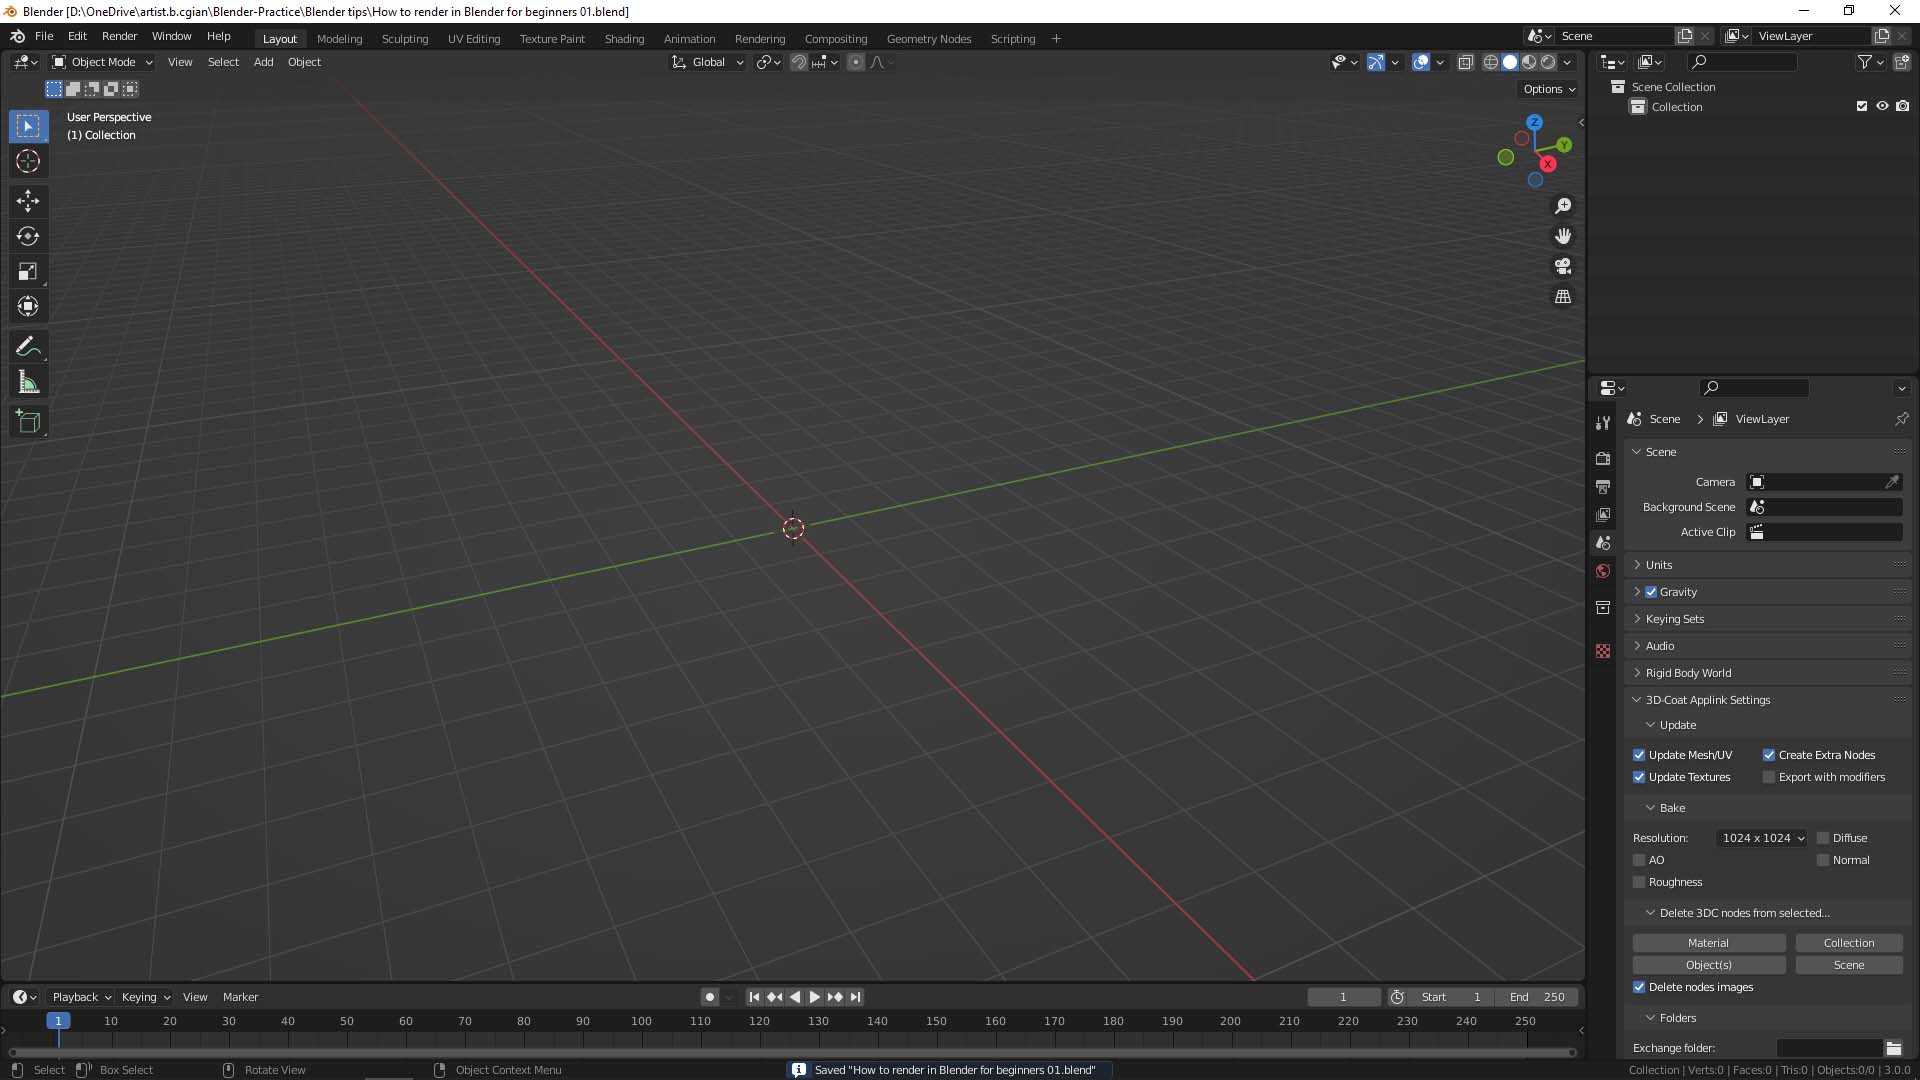
When starting Blender, the default scene with 3D cube, camera and light has already set. To go through all the step how to render in Blender step by step. I delete the cube, camera and light.
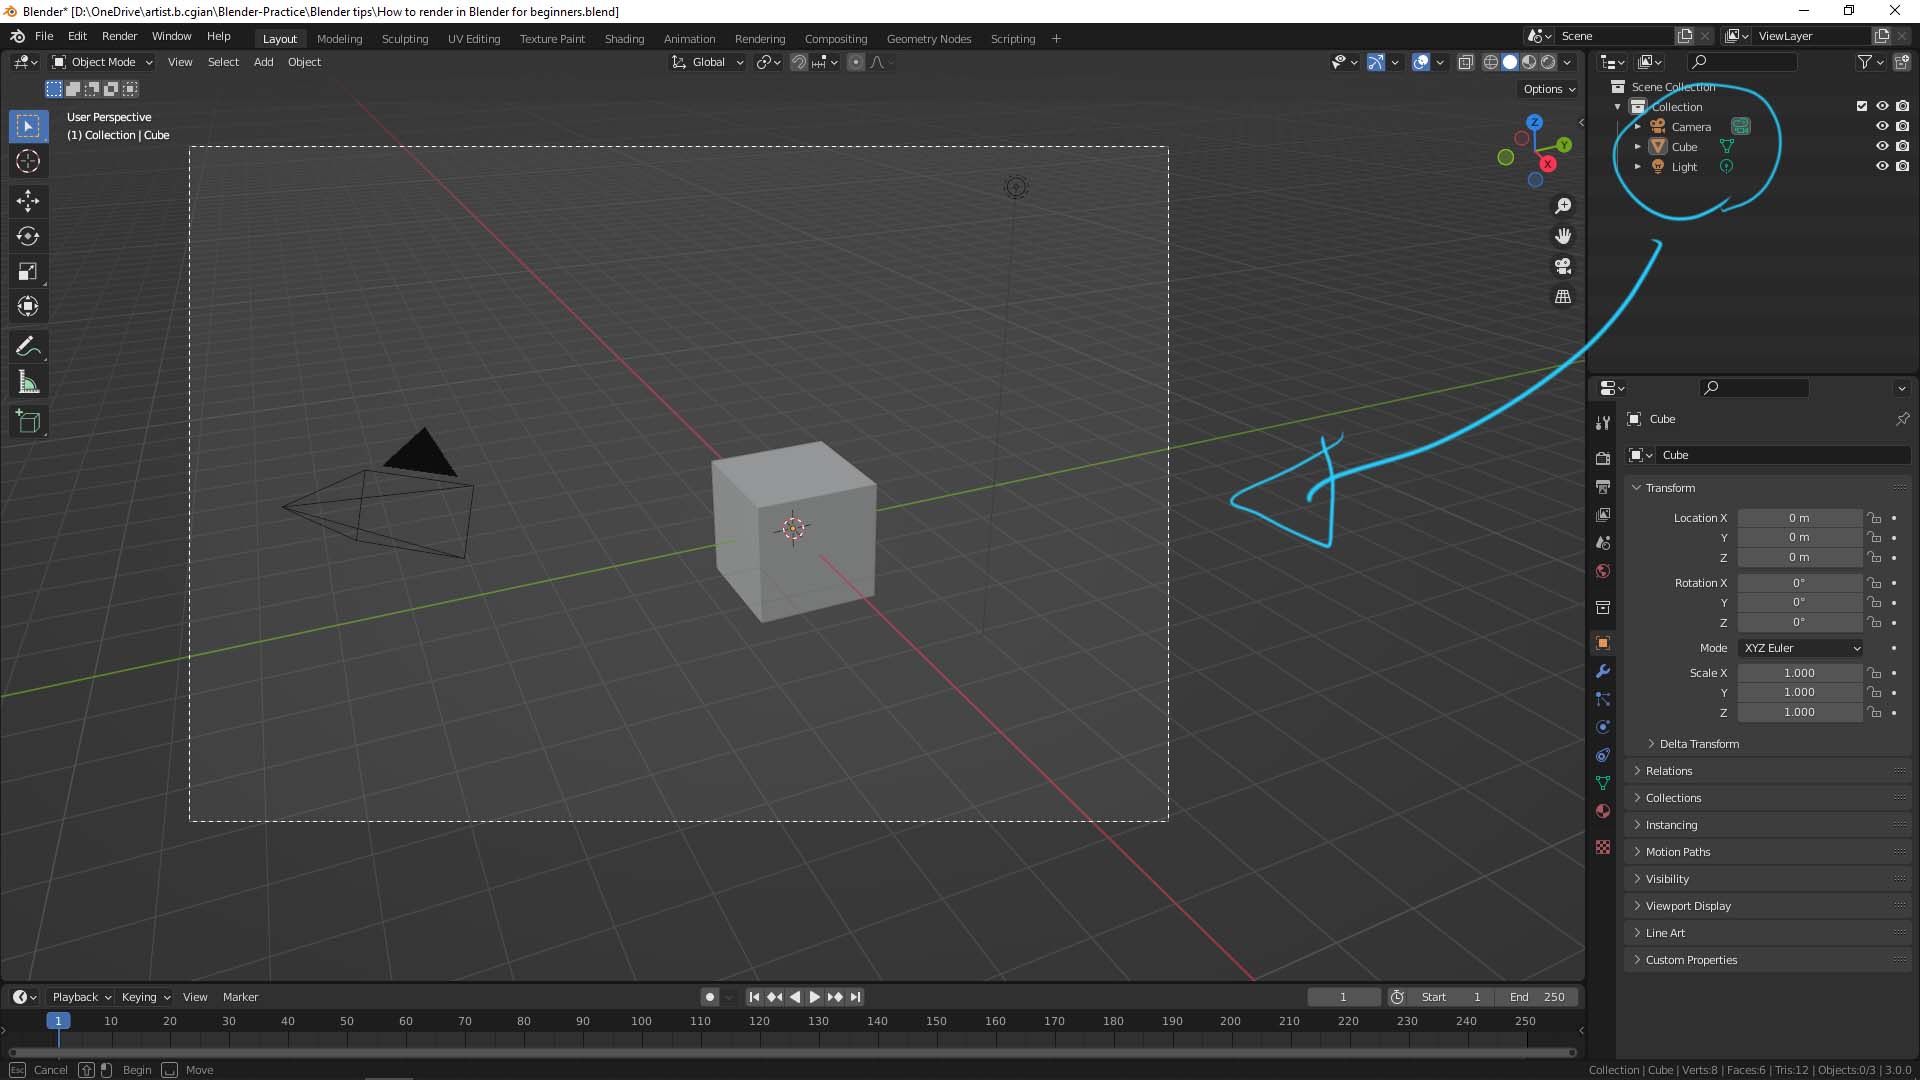
Therefore, we start with this scene with nothing inside, like as below.
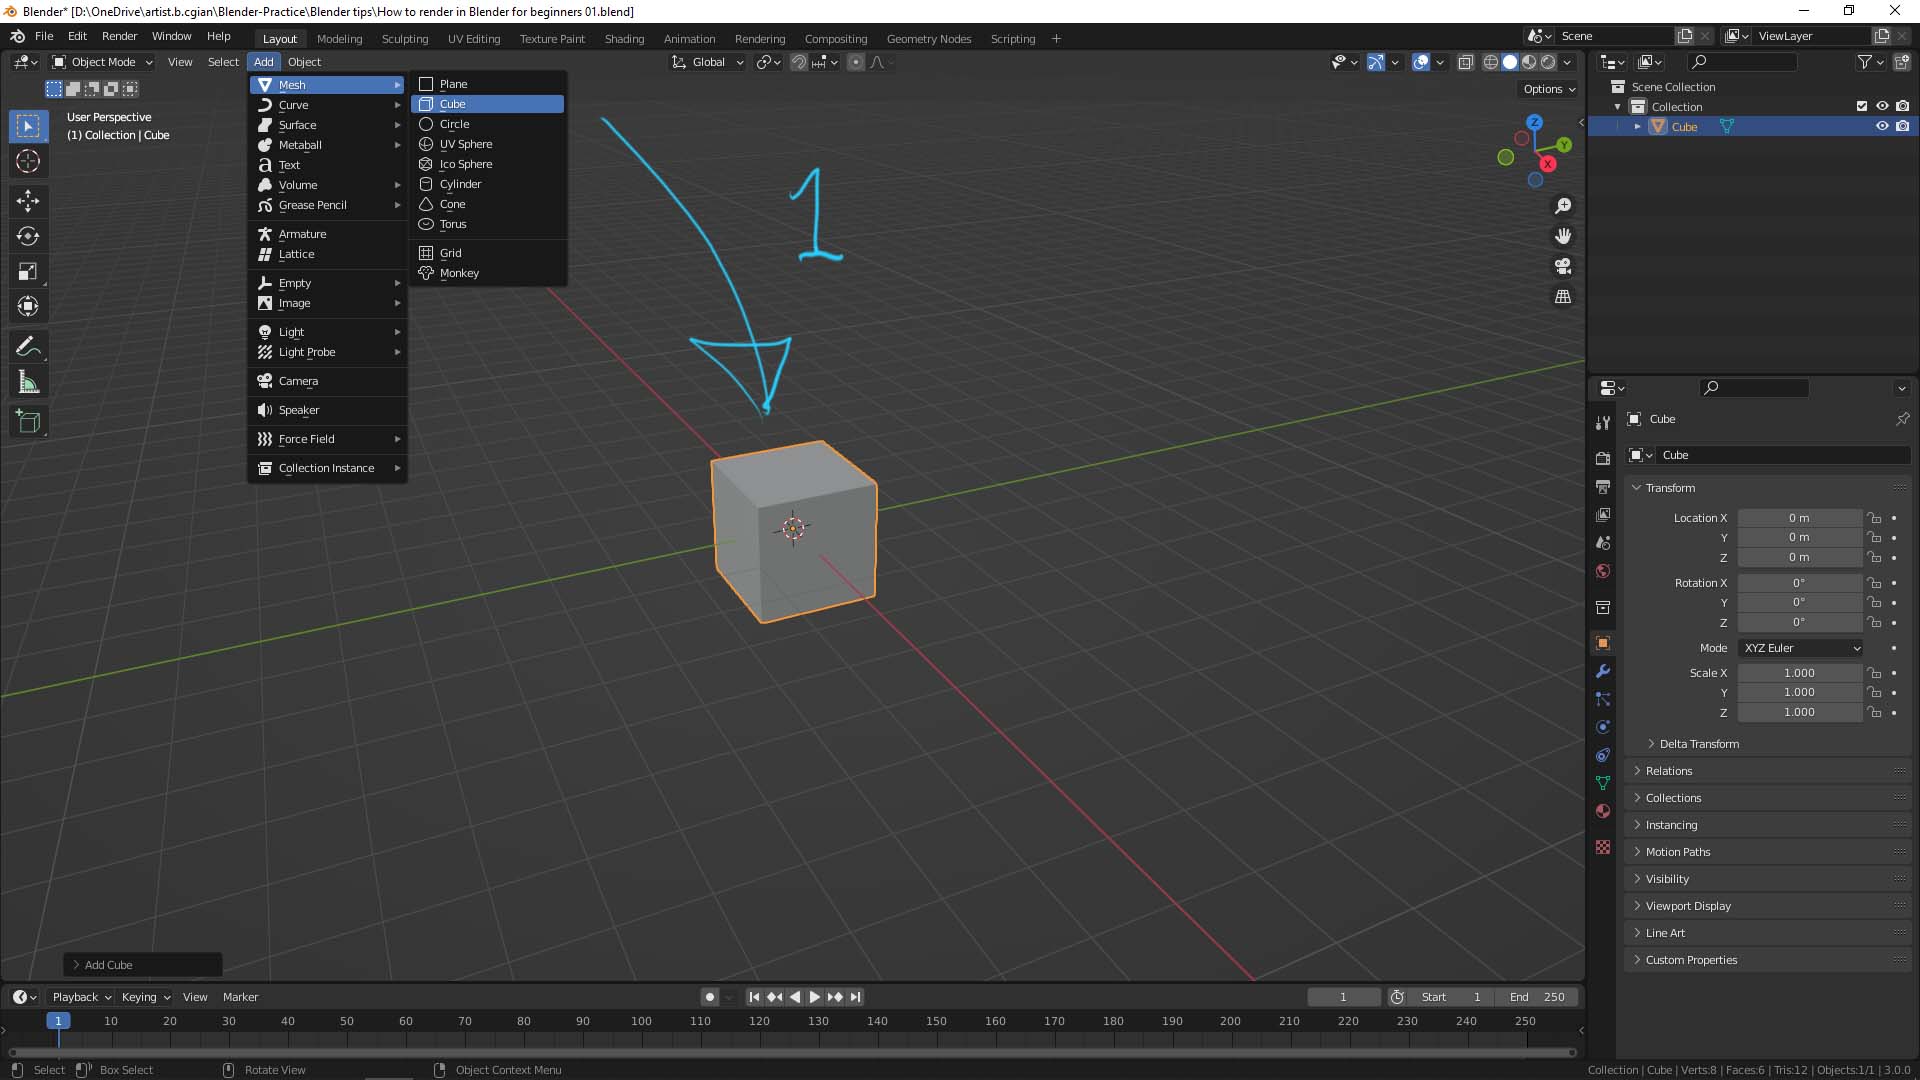
1. Add 3D object
Firstly, we can add 3D object, we can go to Add > Mesh, and choose the mesh. I add a Cube here. We can make 3D modeling if we want to have other 3D shape.
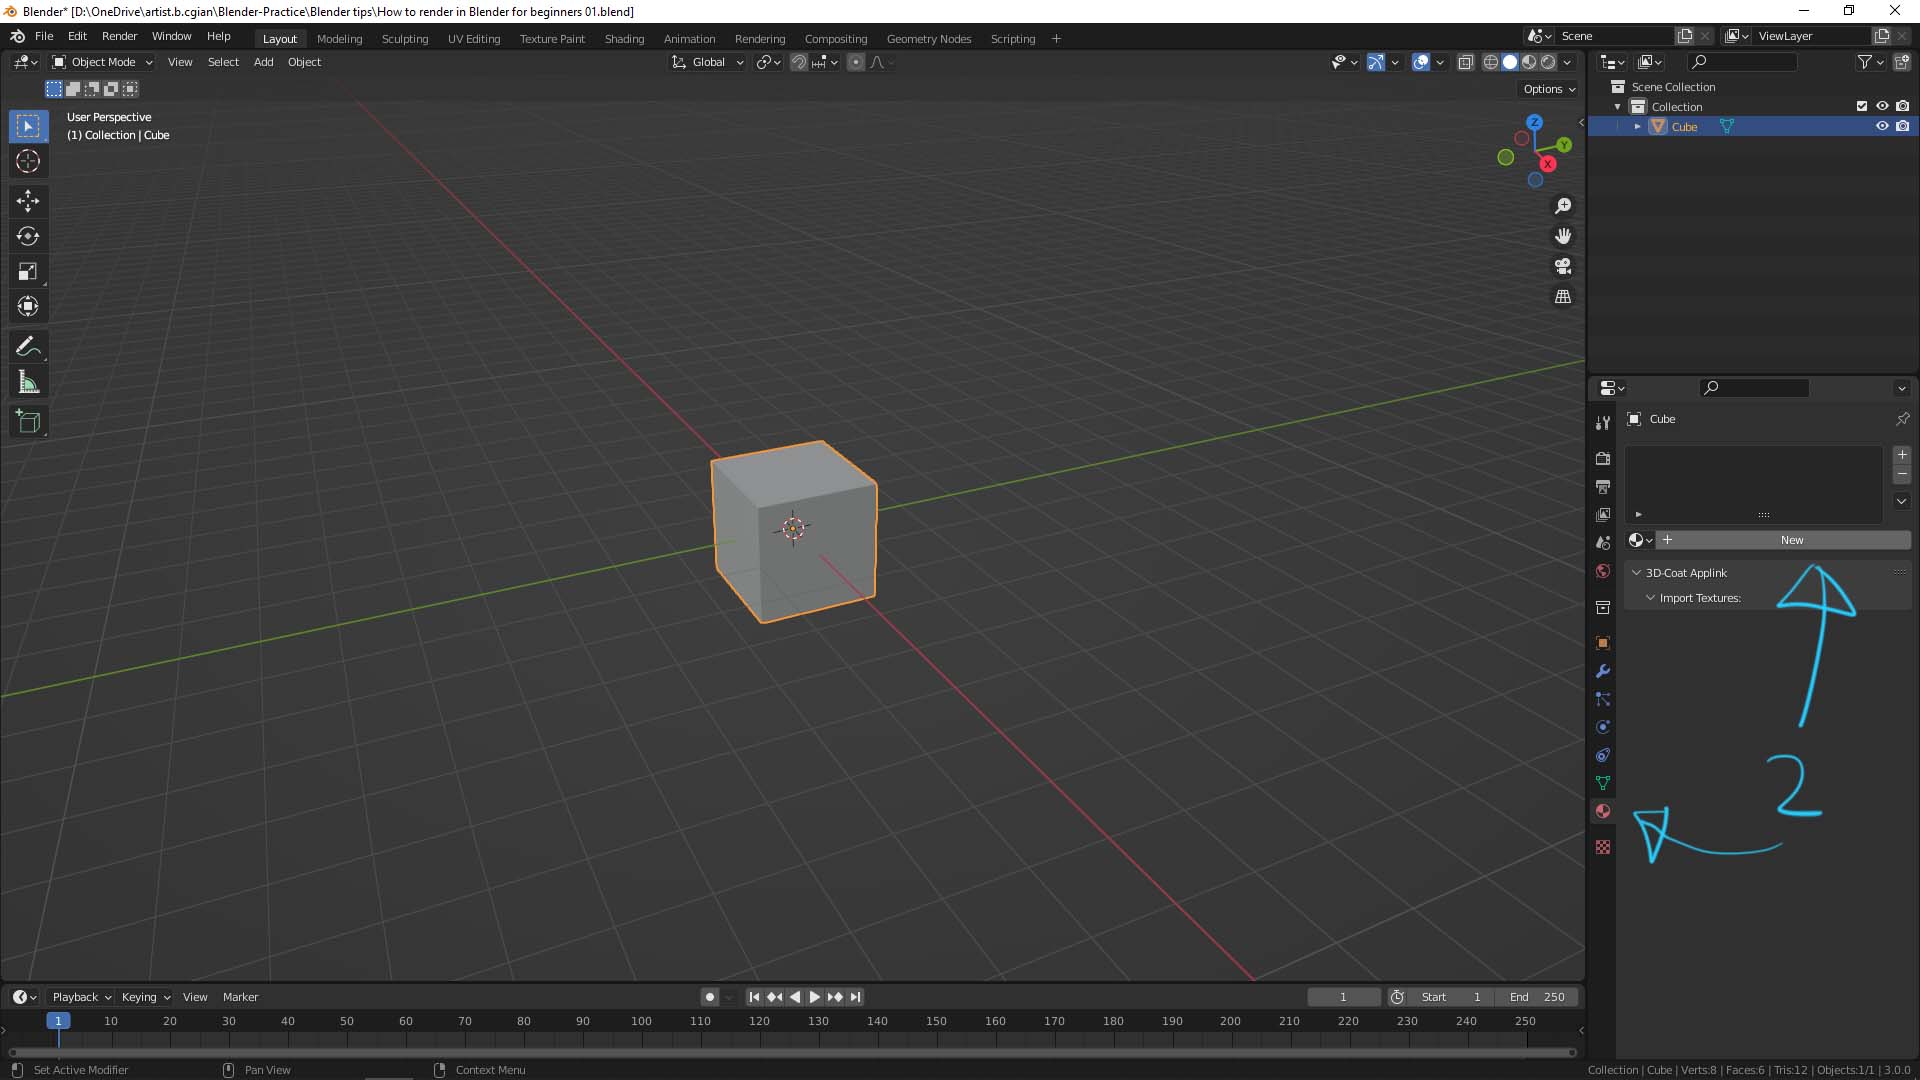
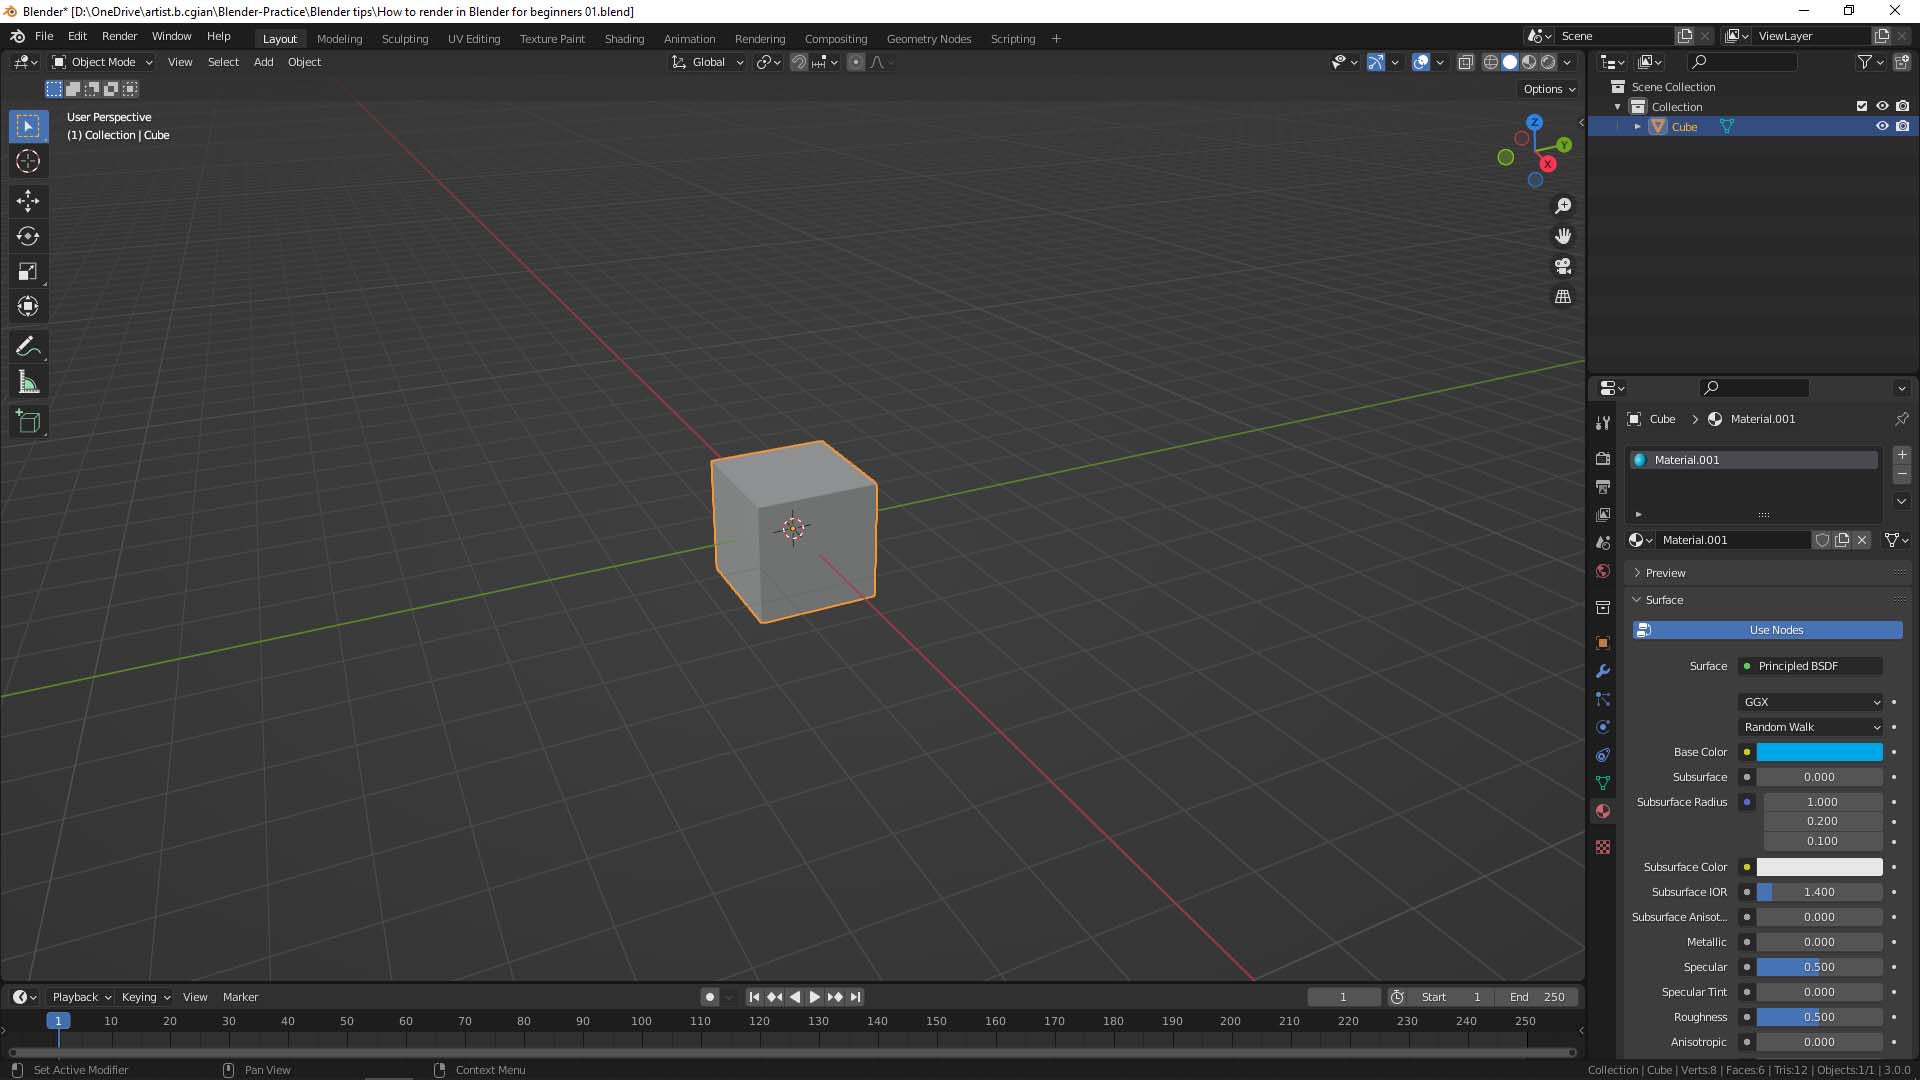
2. Add Material to 3D object
We can go to Material Properties Tab, to Add New Material.
Below screen shows the new “Material.001” is added. And I change the base color to Blue. Other than changing base color, we can adjust the roughness, transparency or add texture into this material setup.
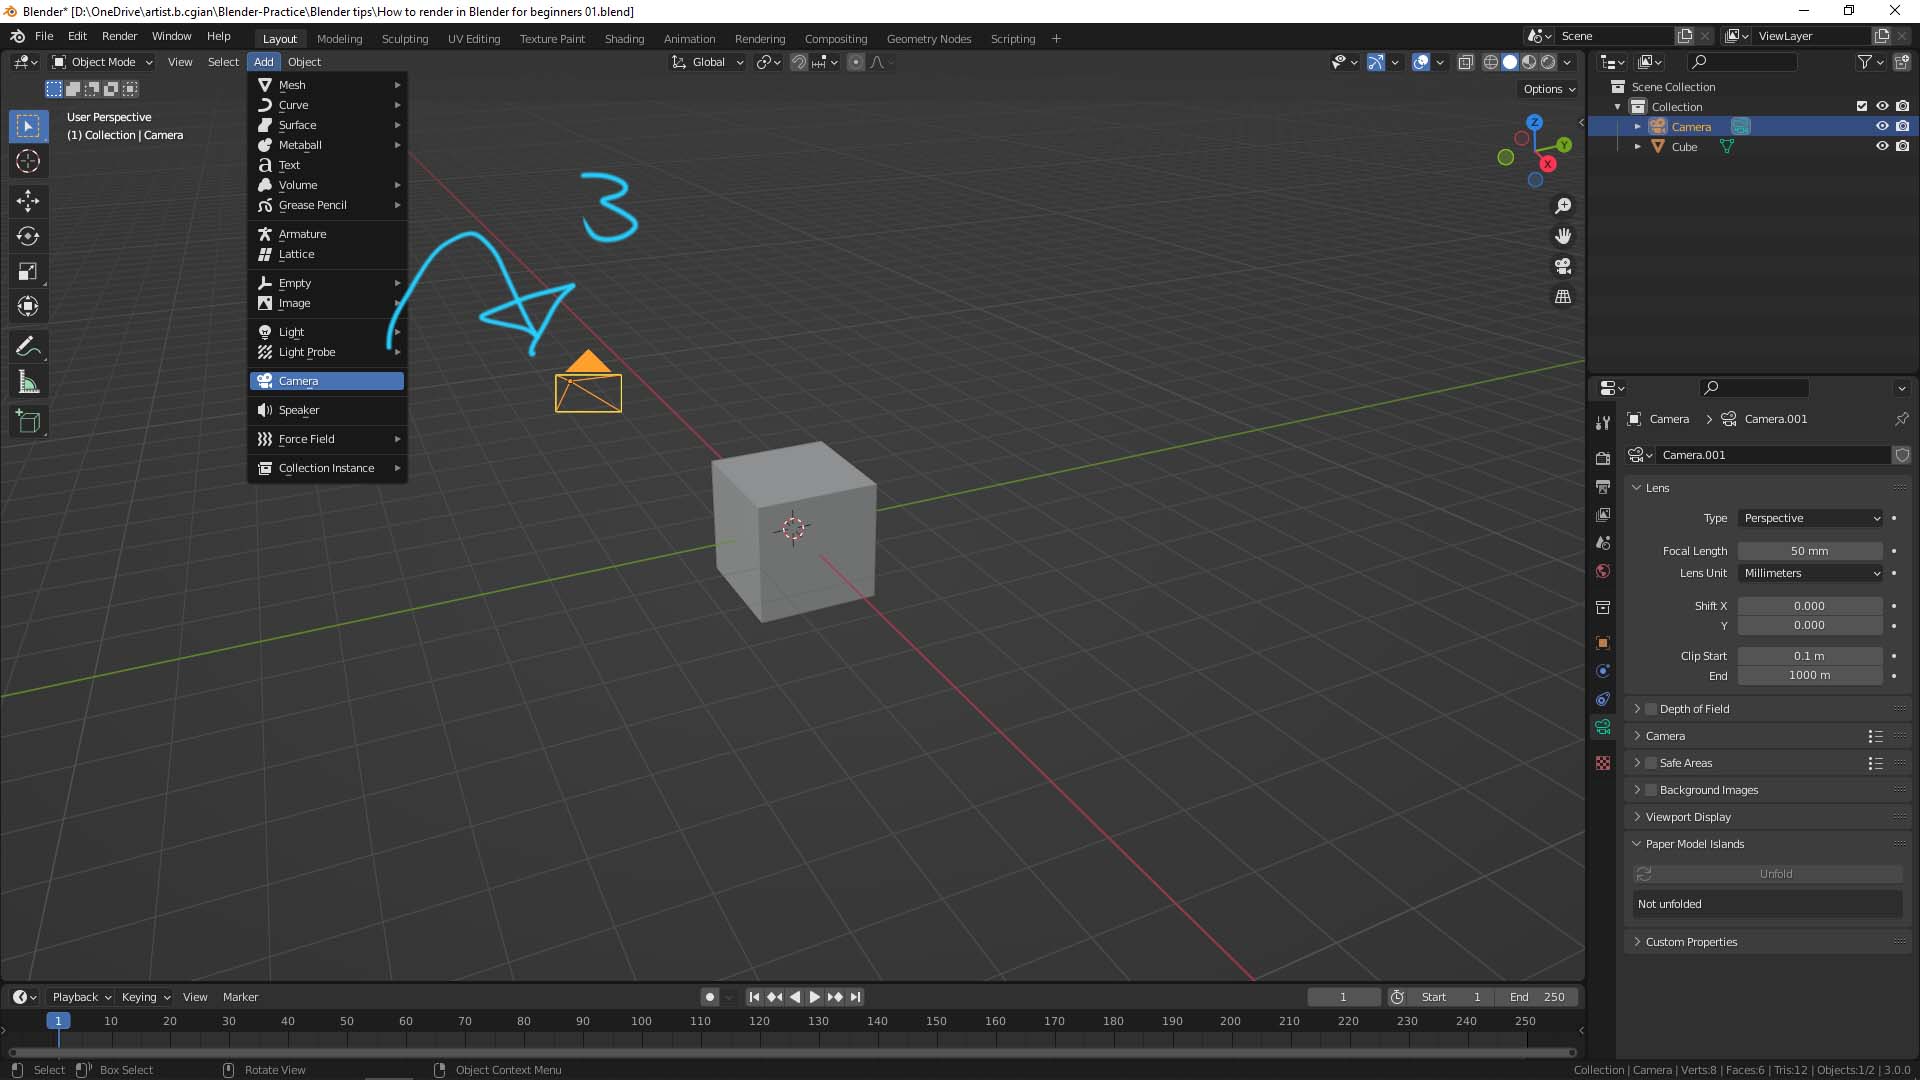
3. Add Camera
We can go to Add > Camera, to add a camera. Camera is to set the view angle that will be rendered.
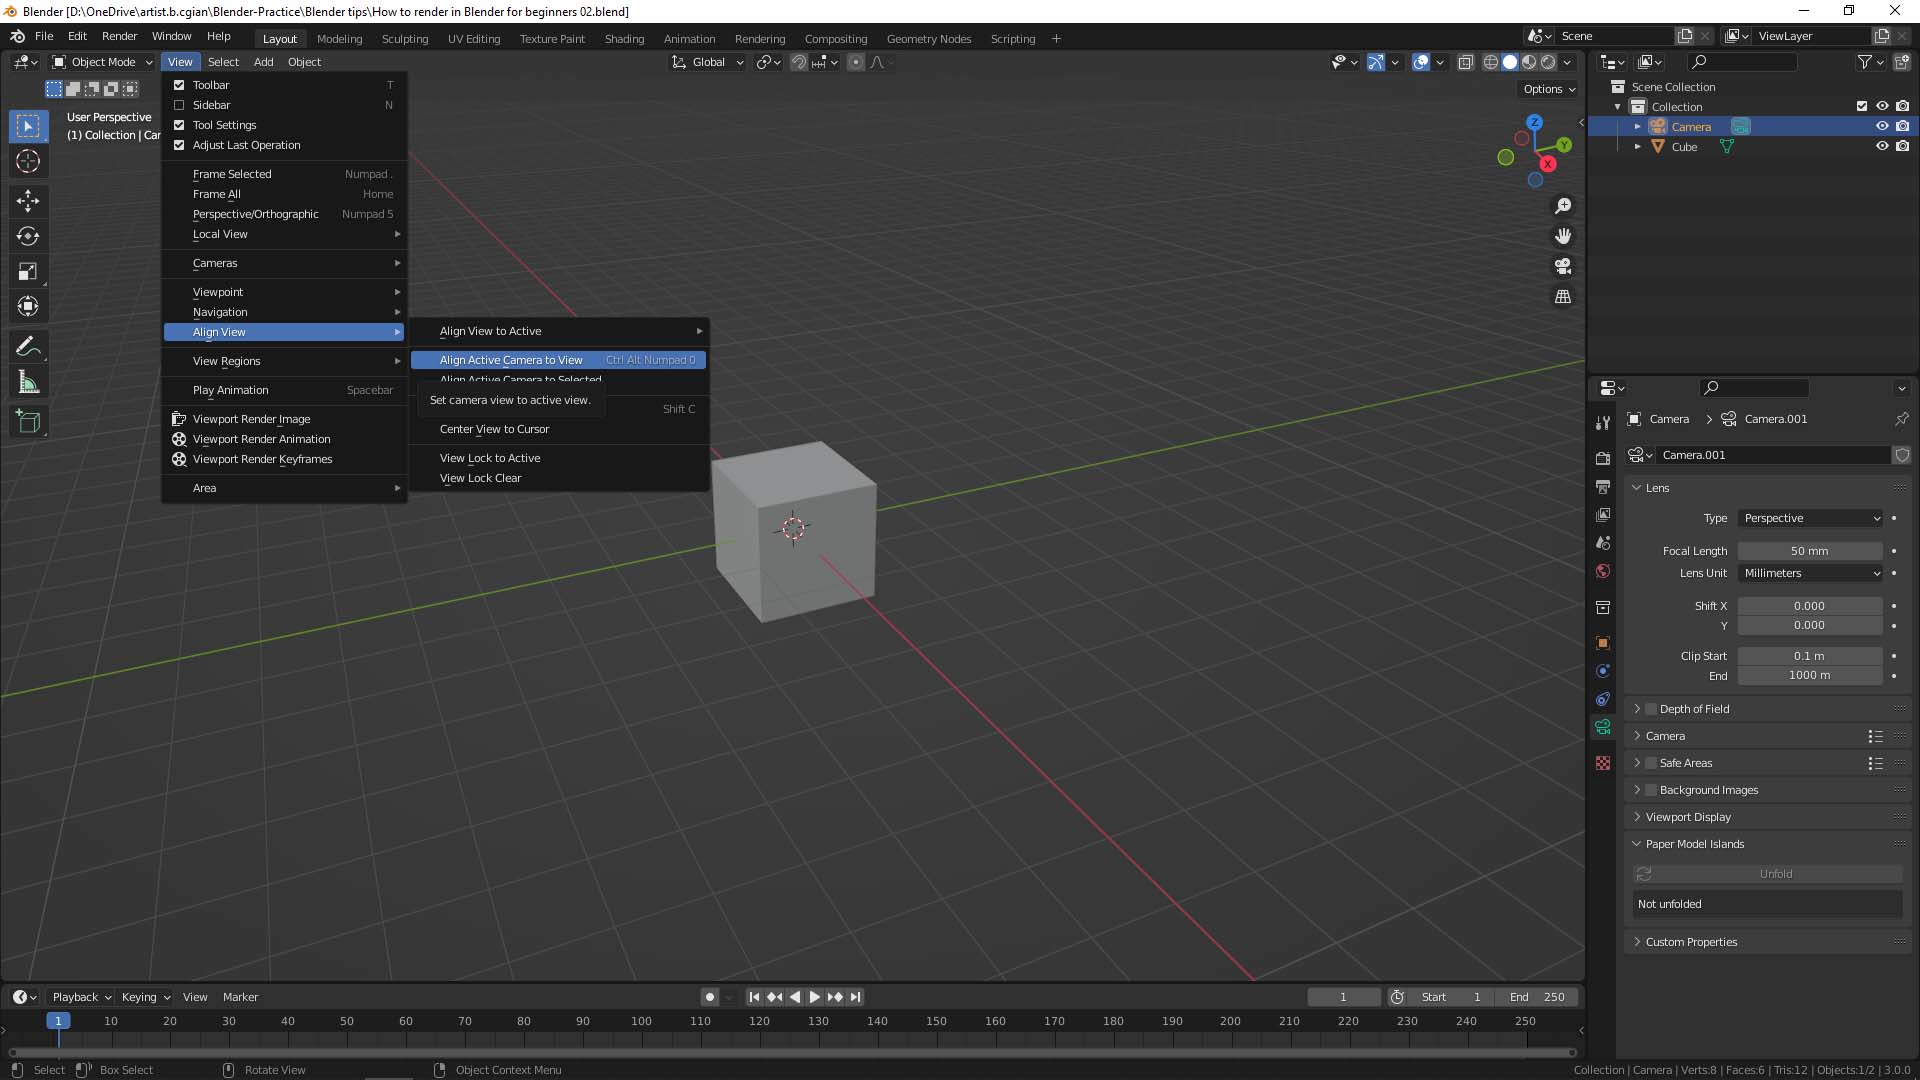
We can align the view angle with current view. Go to View > Align view > Align Active Camera to View
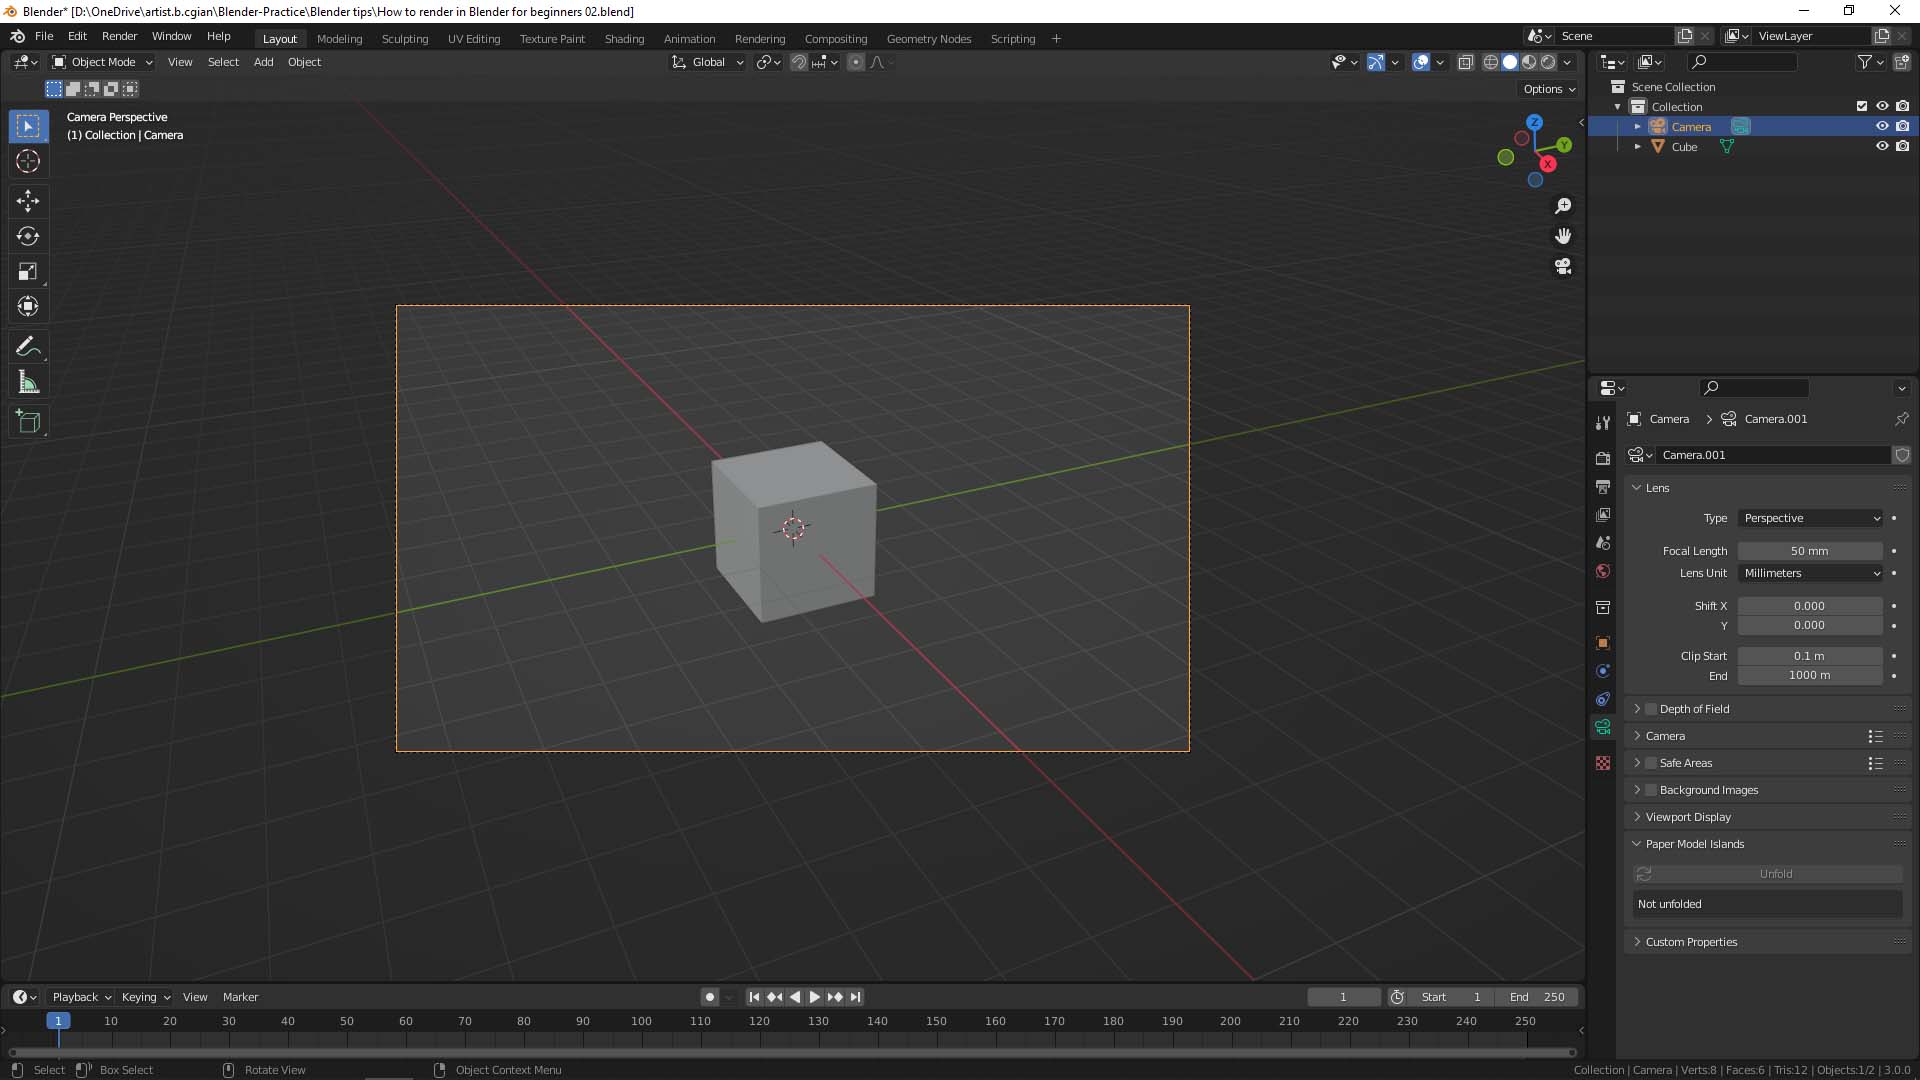
As below screenshot, the camera view angle is aligned. and the orange Rectangle shows the area that will be rendered.
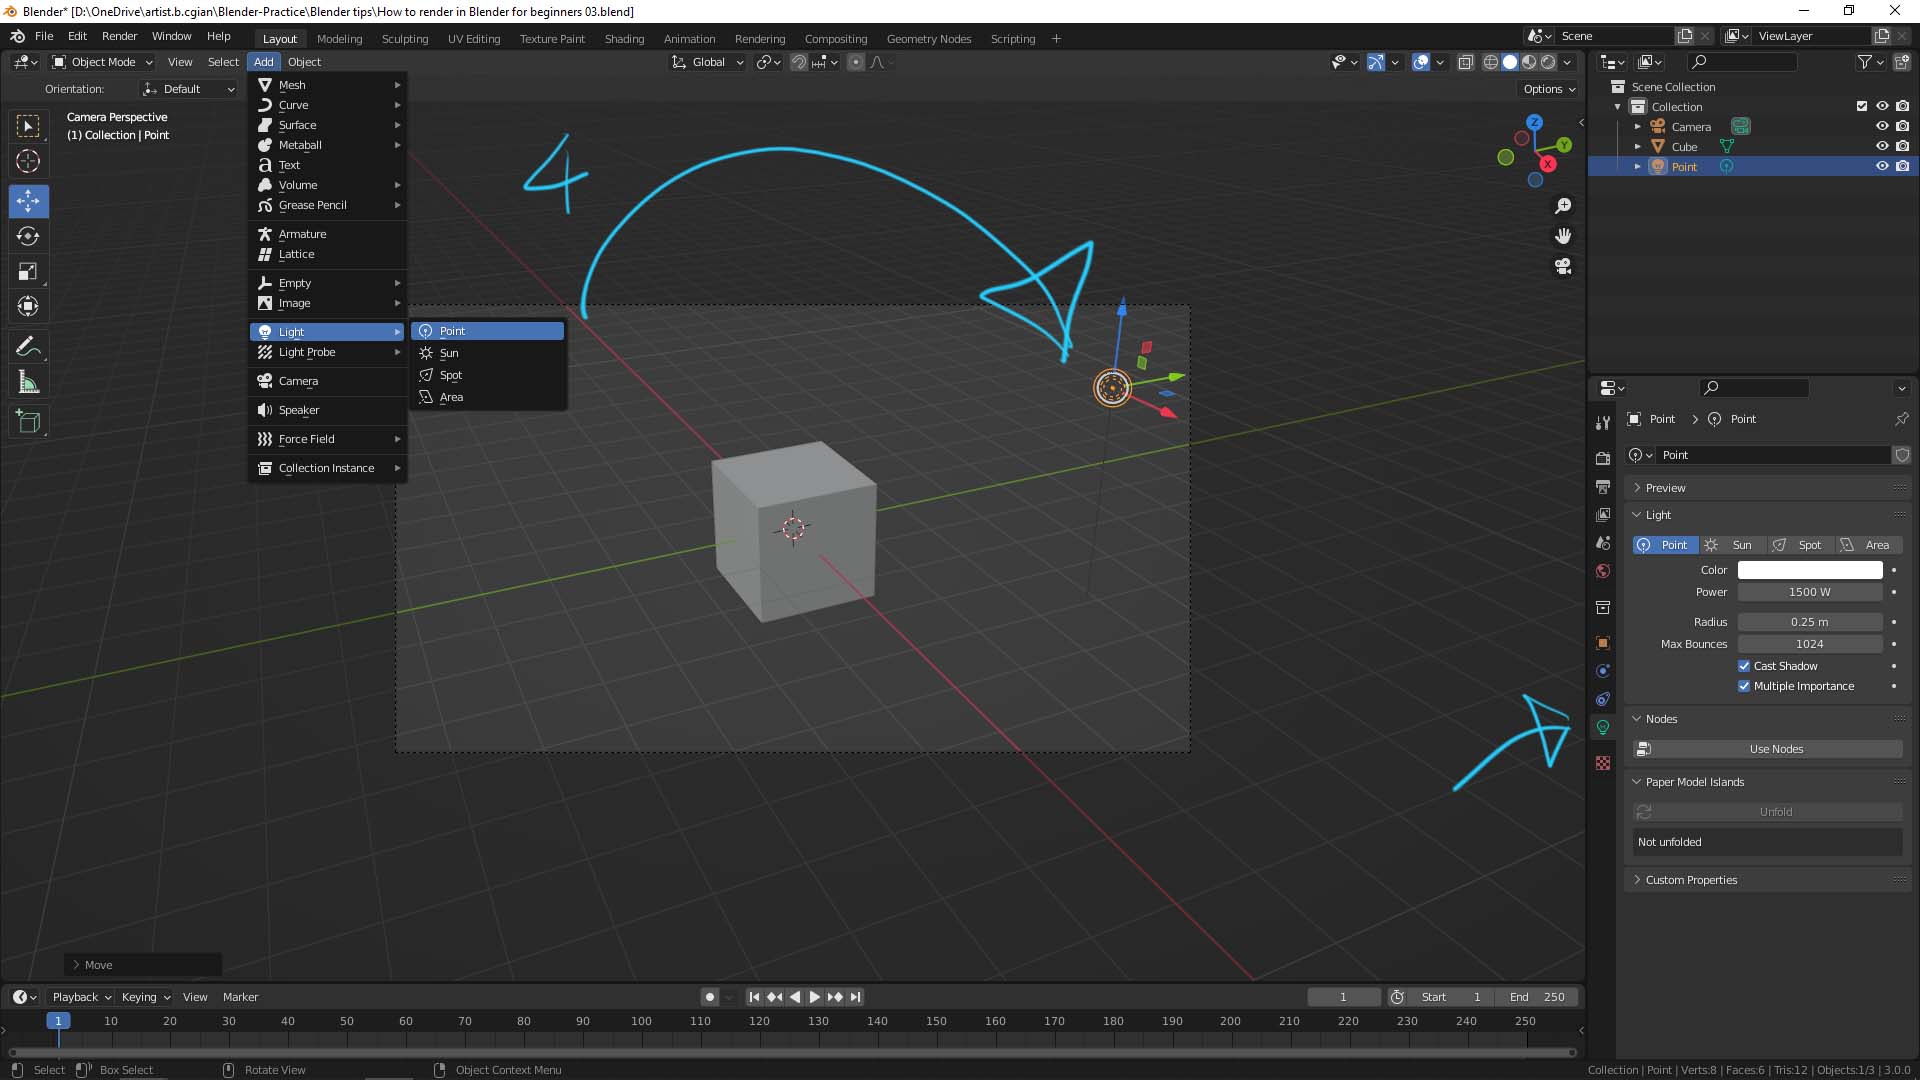
4. Add light
We can go to Add > Light, there are 4 types of light we can add, like as Point Light, Sun Light, Spot Light, and Area Light. And then we can go to Object Properties, to adjust the light setting, for example the Power Value.
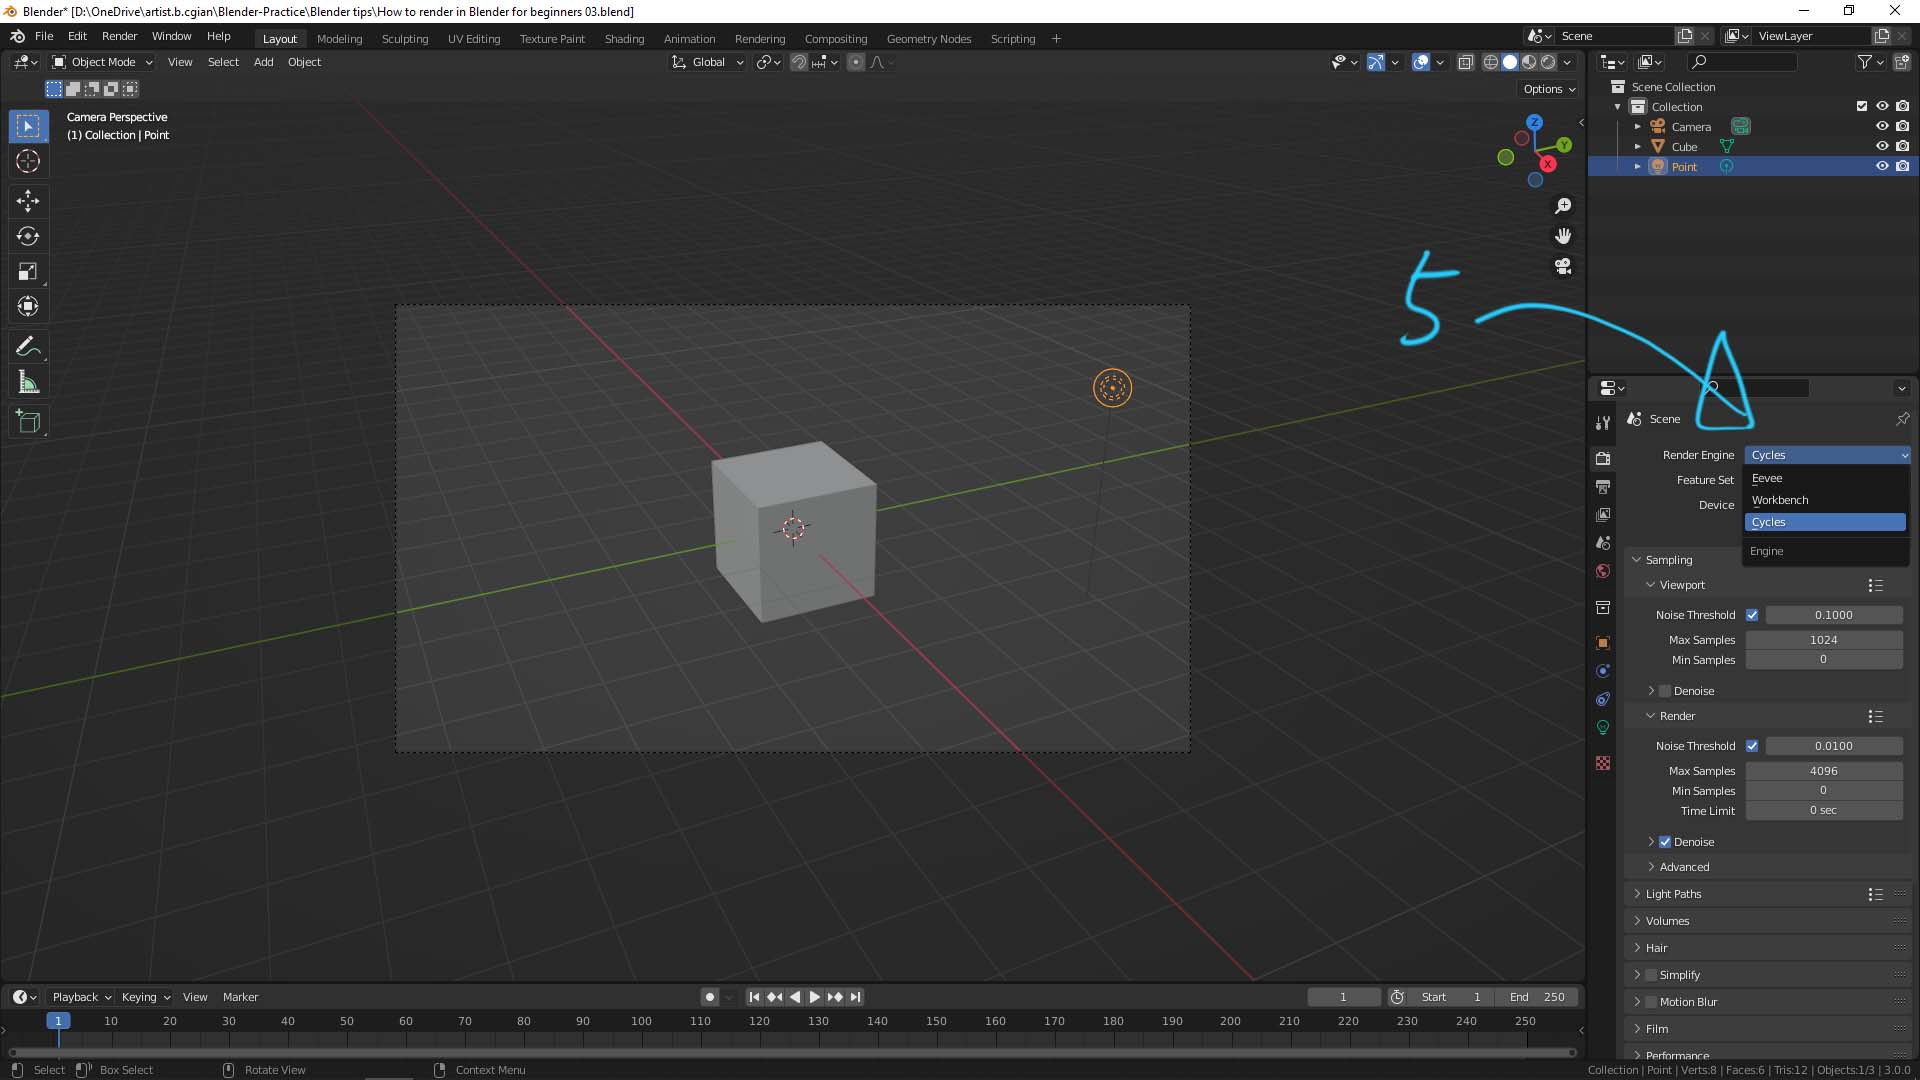
5. Set Render Engine
Blender provides 3 kinds of render engine. It gives different look and feel. The 2 popular render engines are Eevee and Cycles. I choose Cycles in this example.
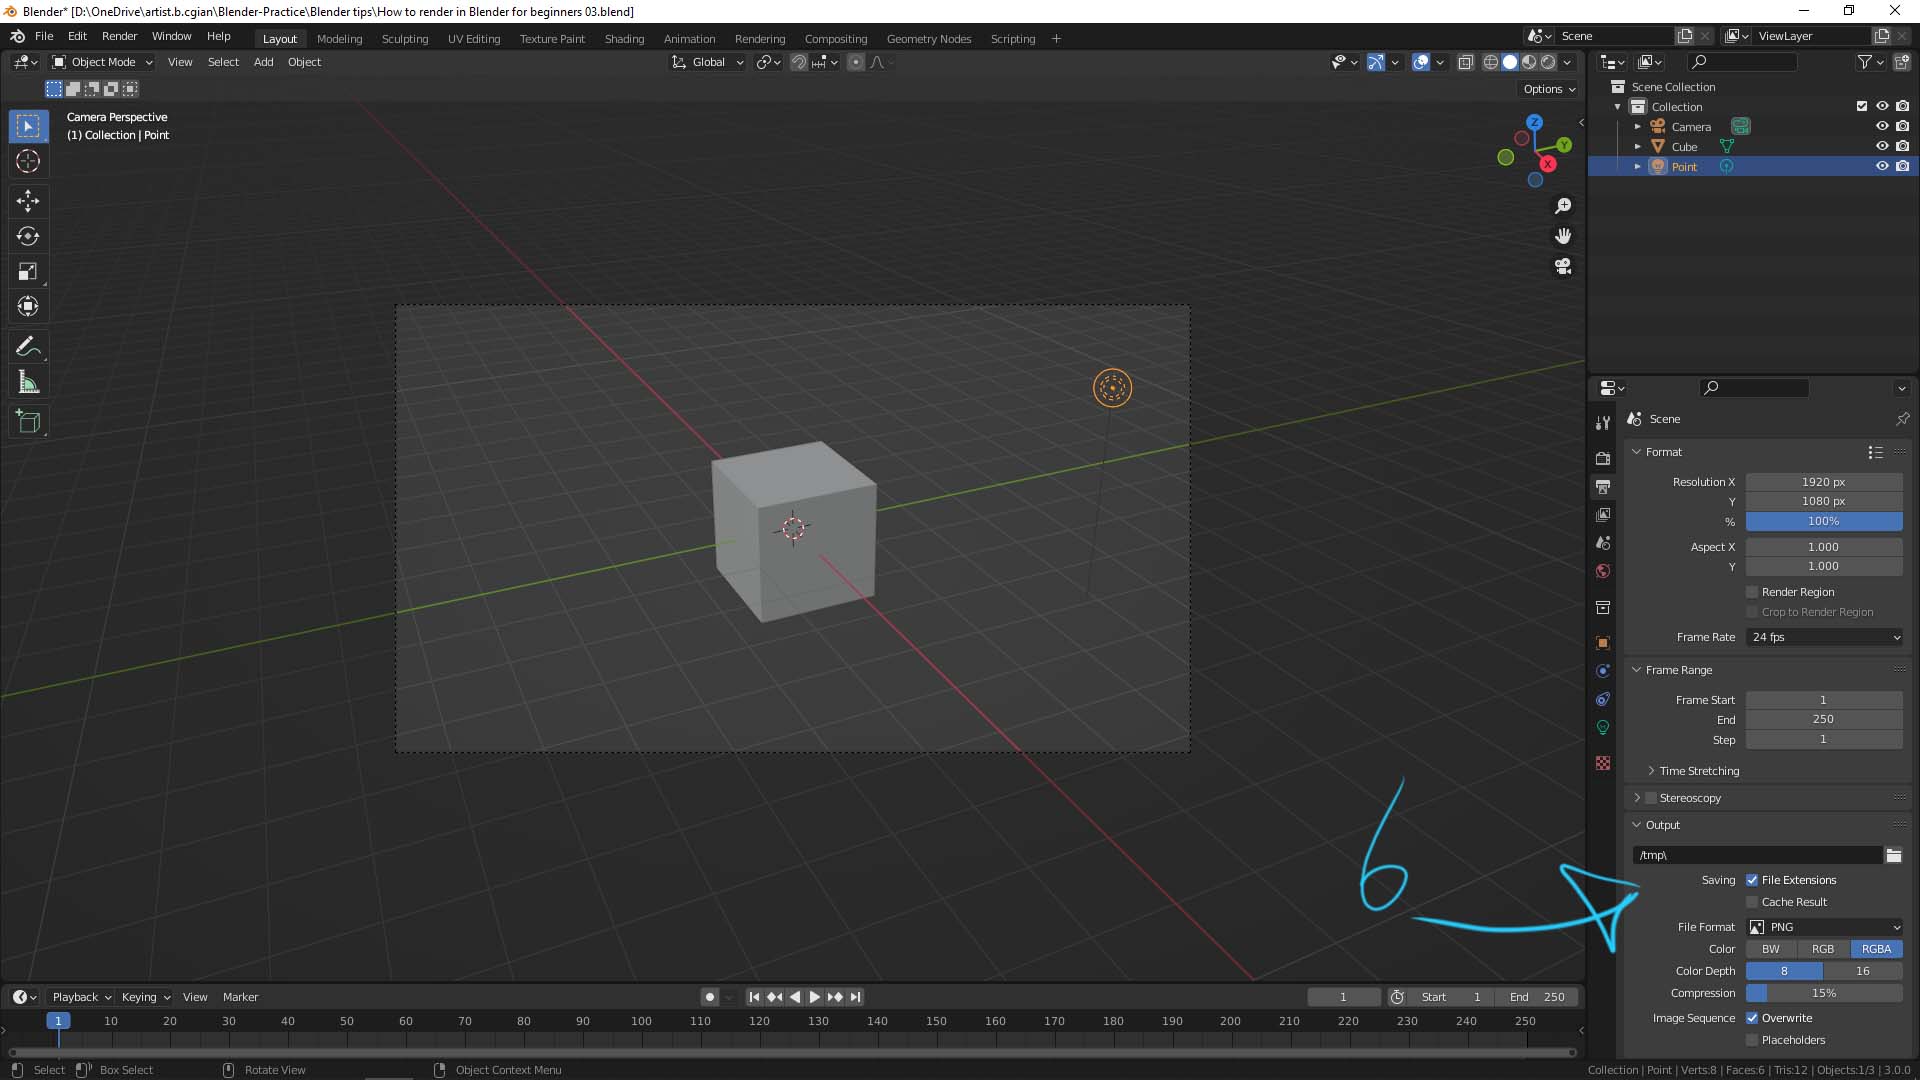
6. Output Properties Settings
We can set the Render Resolution, Number of Frame (for animation), File Format, etc. in Output Properties. Make sure that we set the Output Location, therefore we can collect the final render image or video in our file folder.
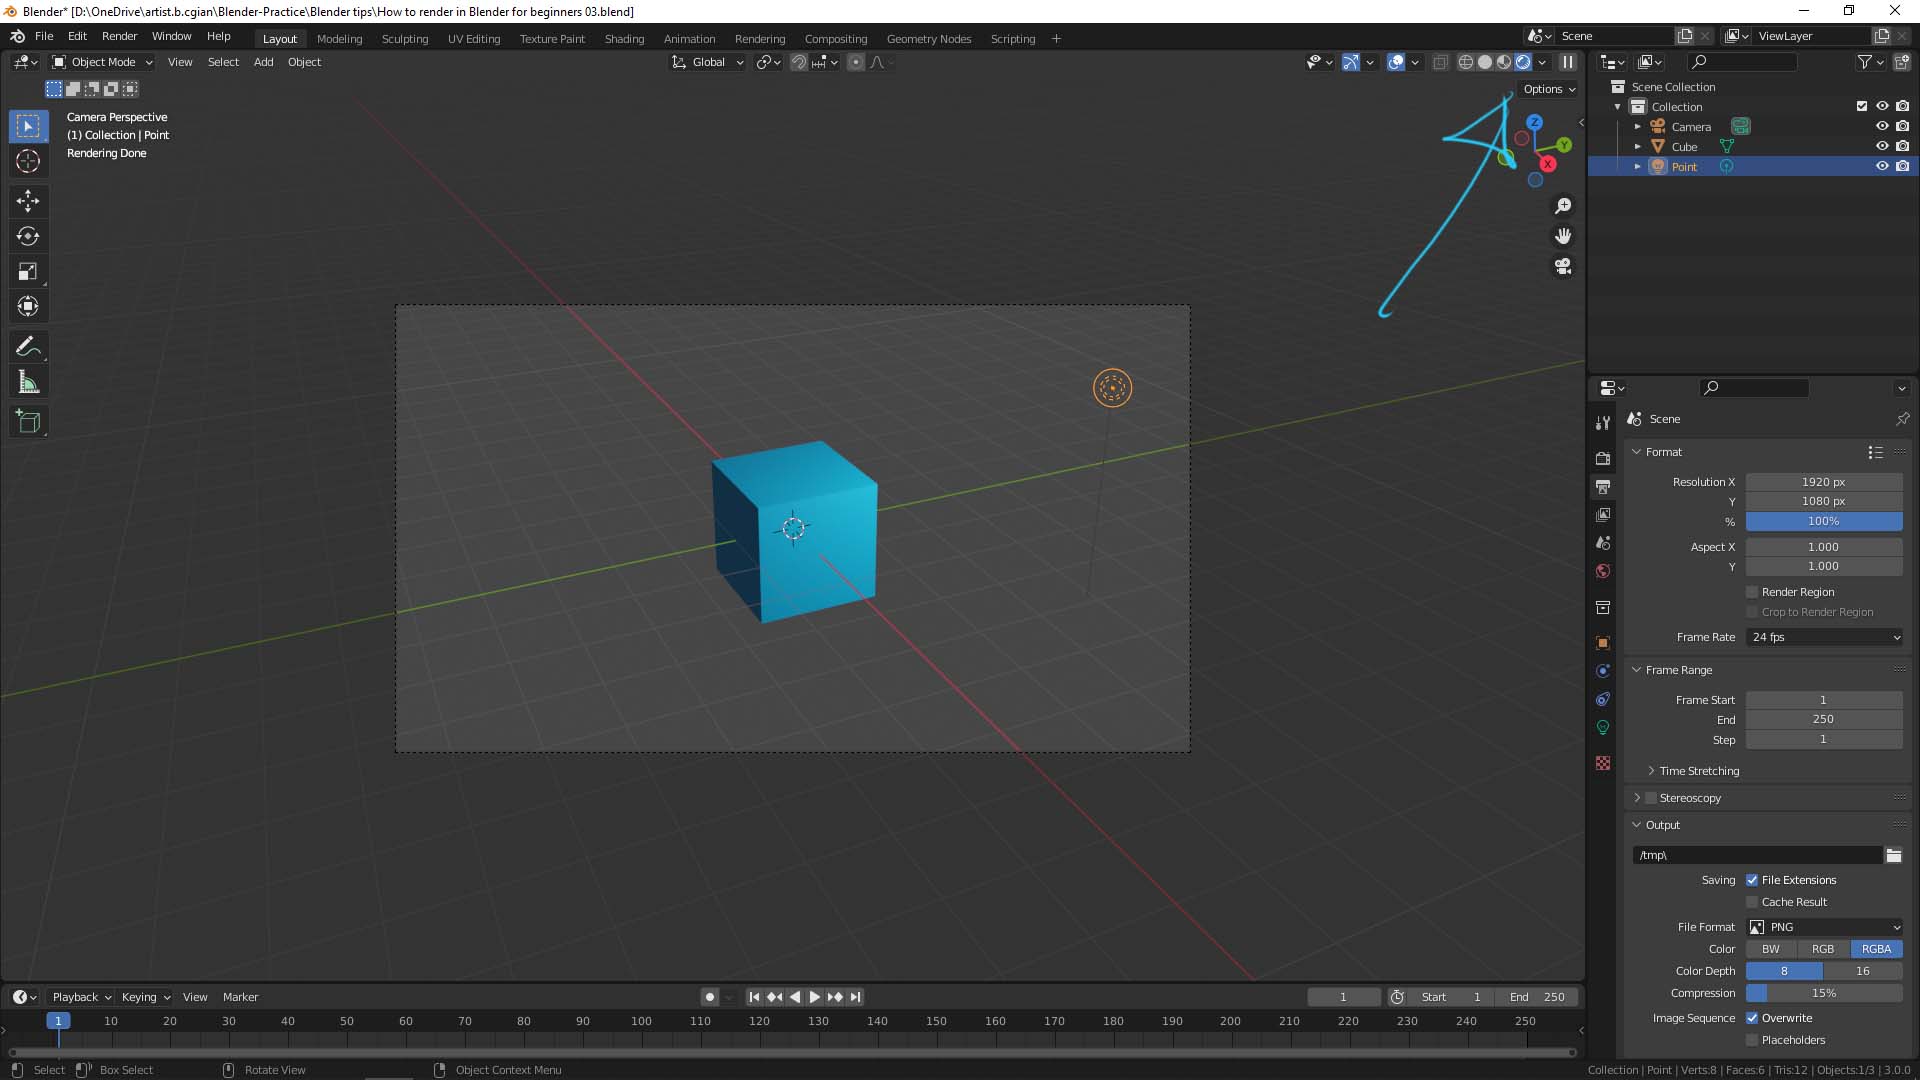
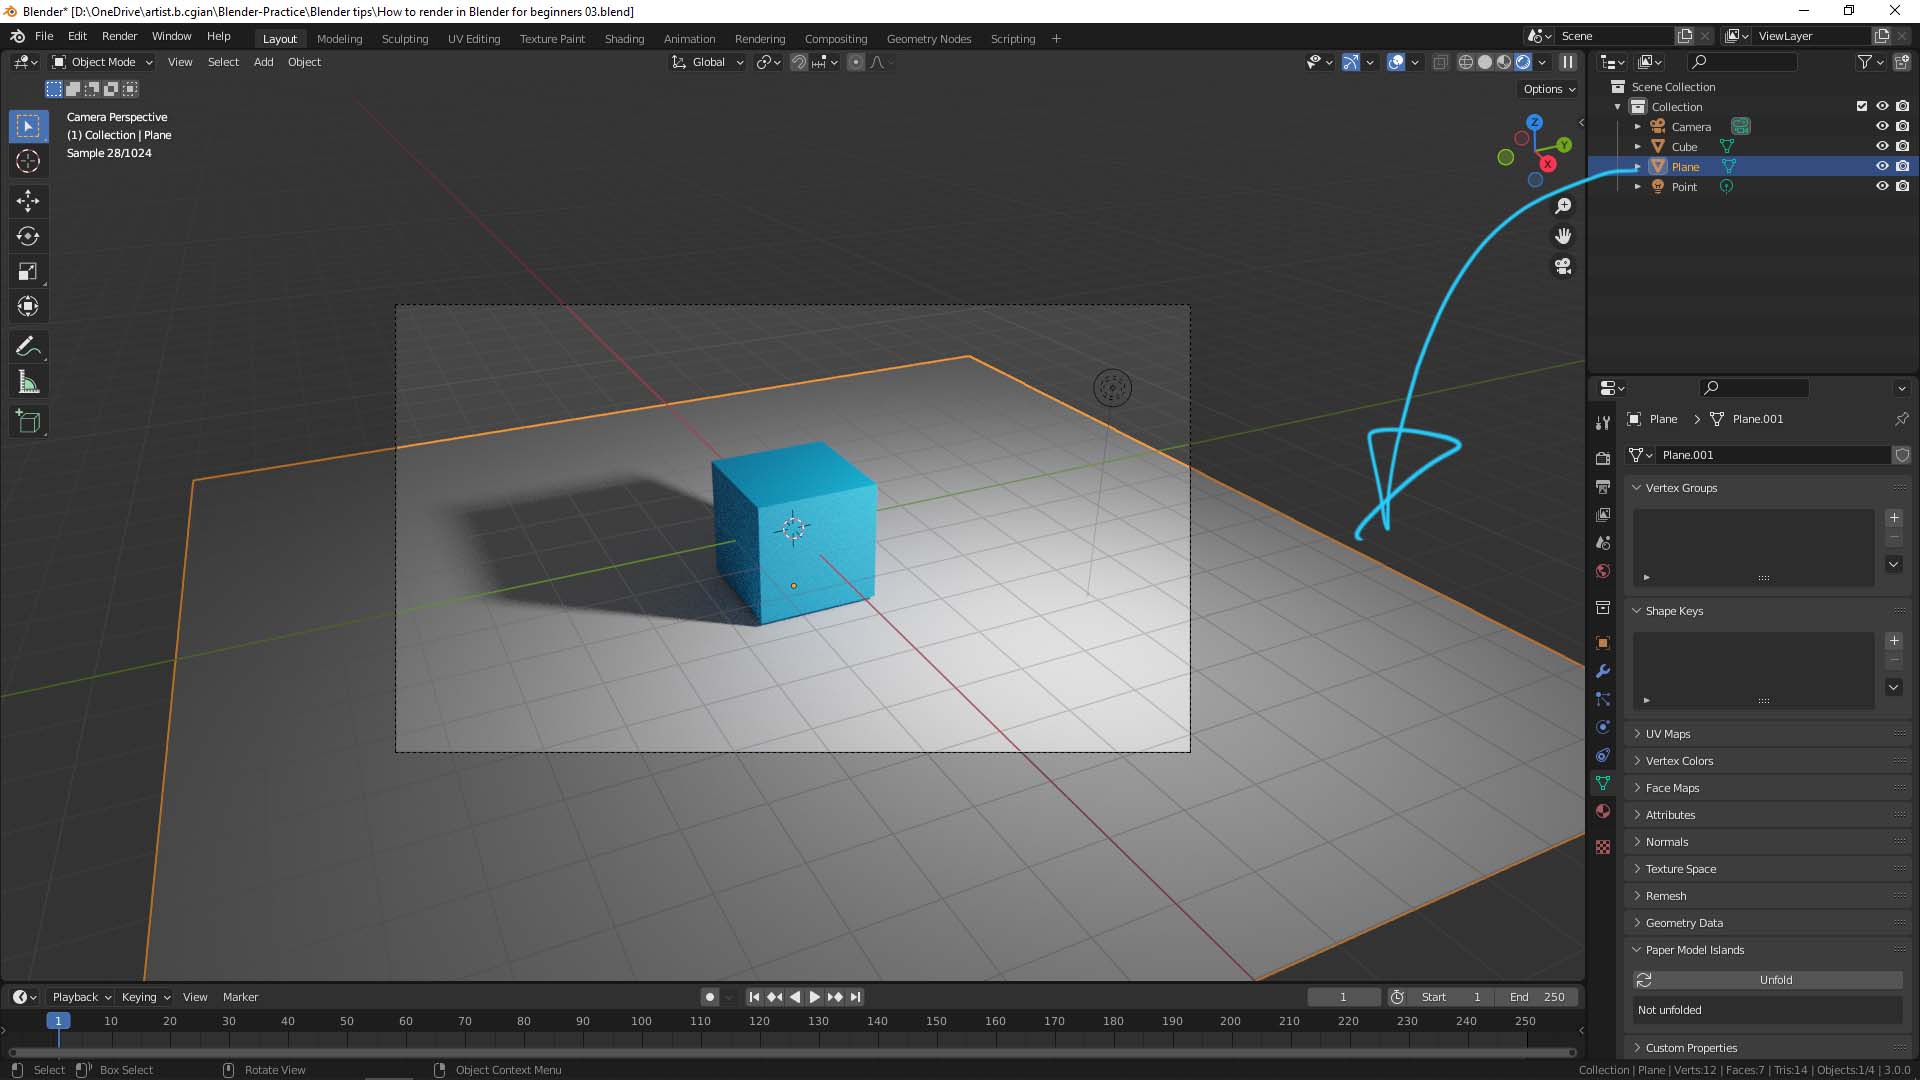
Before start final render, we can preview the whole 3D scene by switching to Render Preview, as below screenshot.
As below, we can be simple to add a plane as a ground into the scene, therefore, it gives the shadow between the cube and ground.
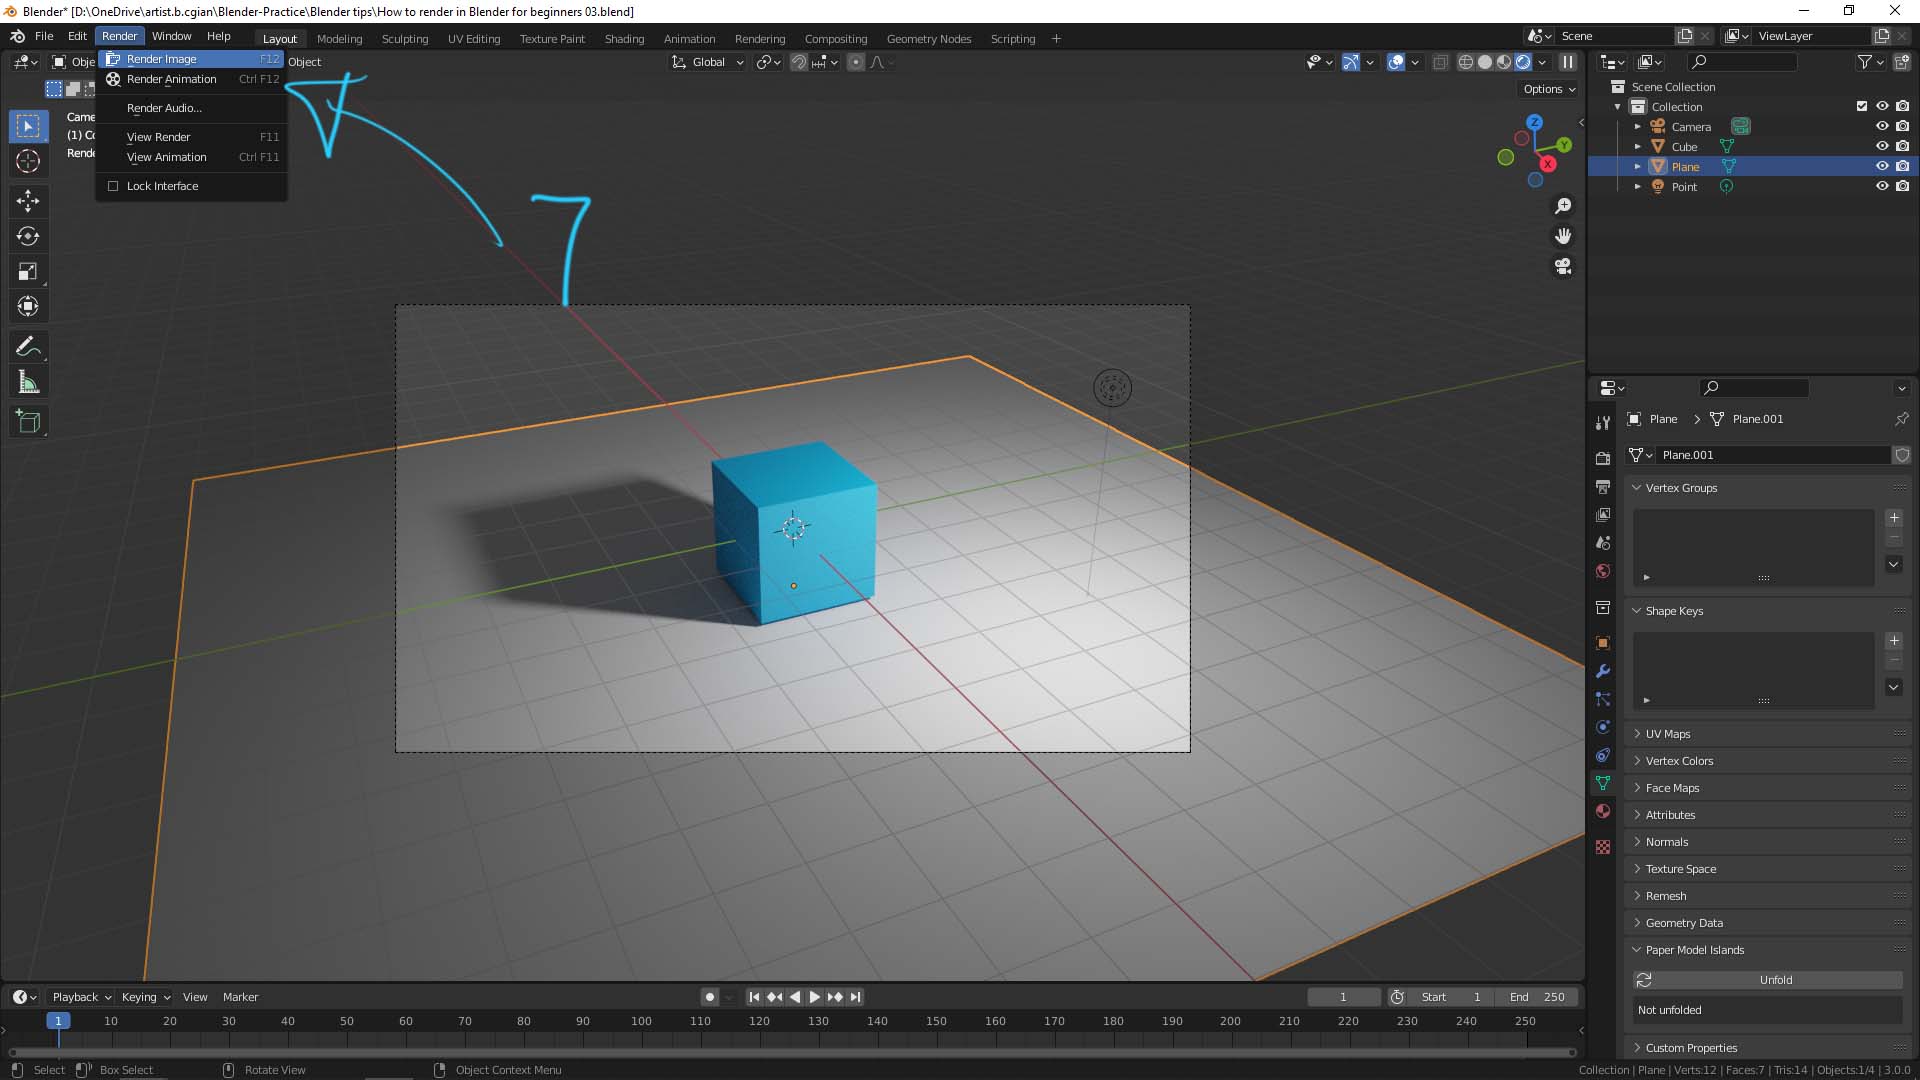
7. Start Render
Go to Render, we choose Render Image or Render Animation (if animation is set).
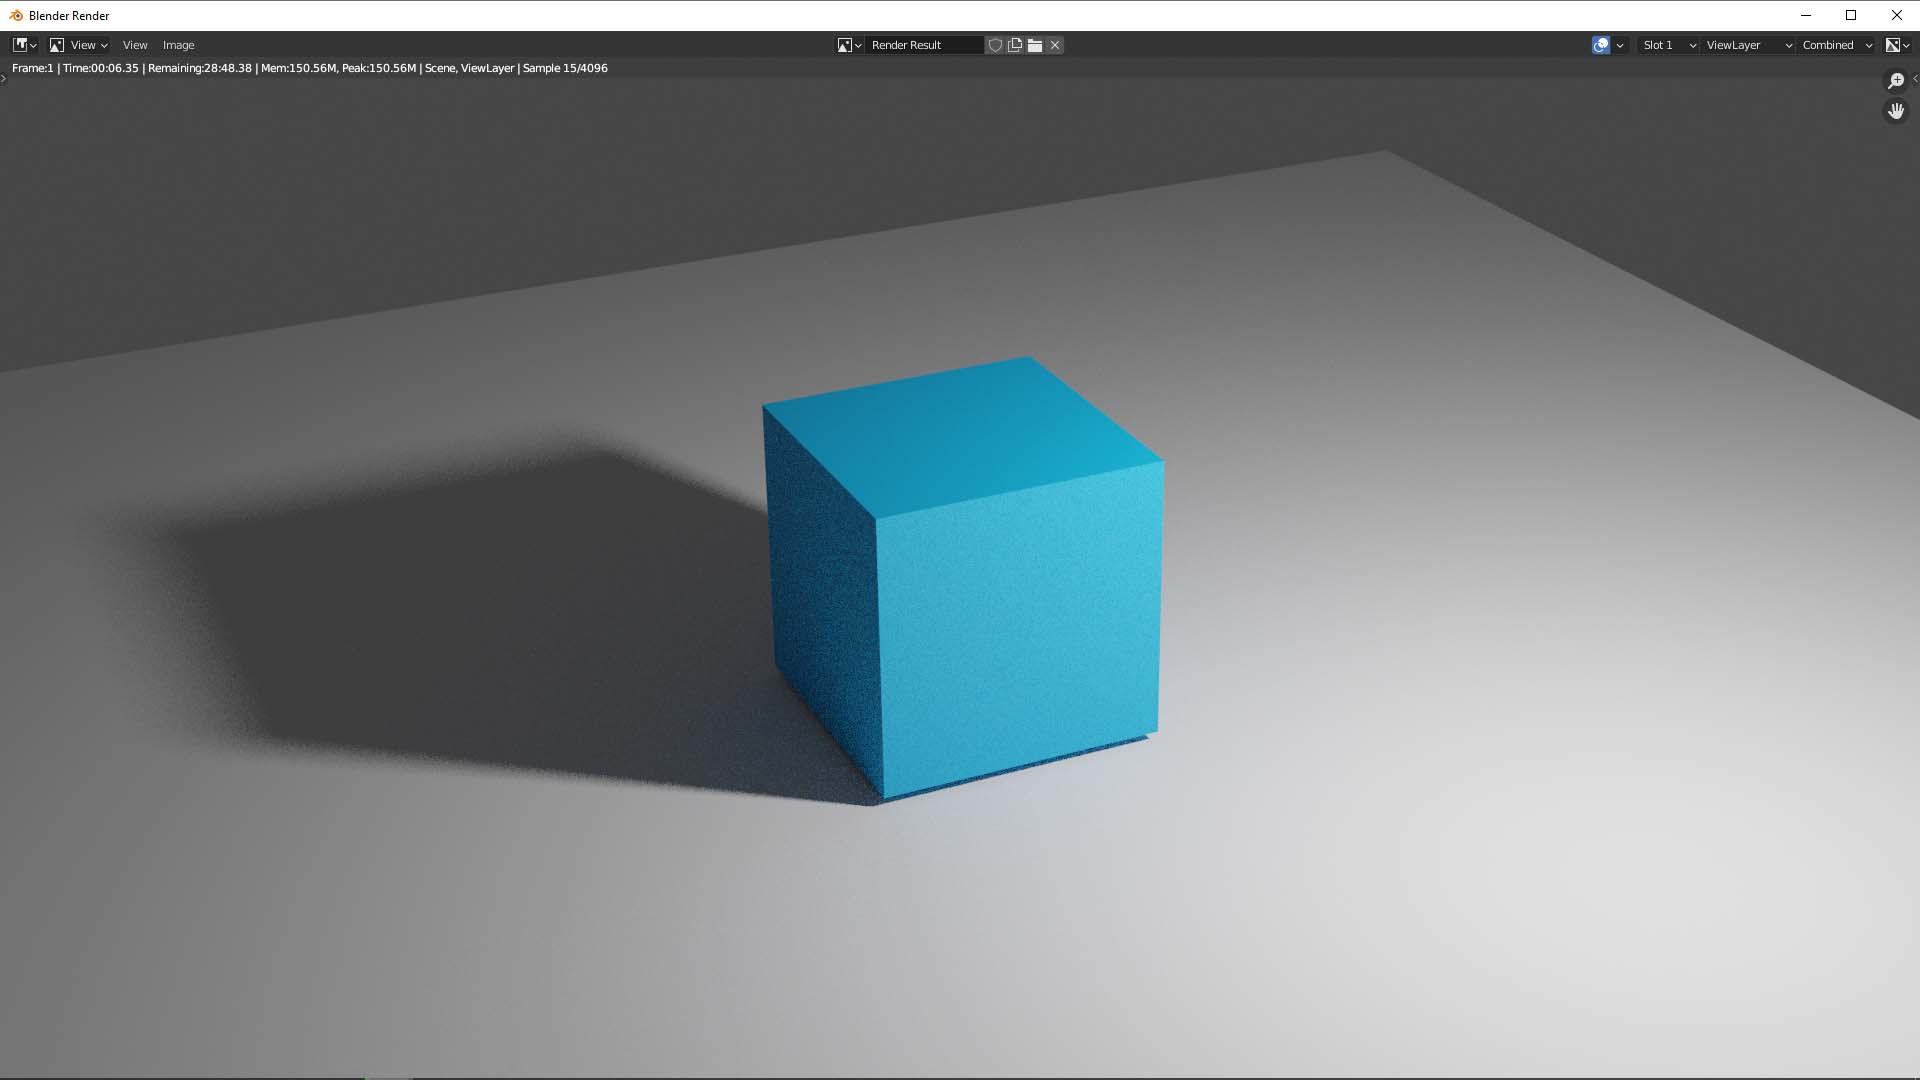
Then the Render Window is popup, and start the final render.
Moreover, here is the step by step showing how we can make 3D rendering from nothing using Blender. Please watch here to go through the workflow how we can render image in Blender.
Hope this helps. More Blender Tutorial, Tips and Tricks are available here.
Have fun with CGI. Let’s Create!
#cgian #b3d #blender
Continuous Reading:
How to render in 4k, Blender Basics
Blender Light Type – Point, Sun, Spot, Area
How to make 3D box folding animation in Blender
Feel free to share with your friend.
by [email protected]
