
Blender is a free and open resource to make 3D Computer Graphics with Windows, Mac, Linux. We can make 3D model, rendering image, animation, or export the 3D assets to other applications like as 3D printing, game engine, AR VR environment. Blender is compatible with Mac, Windows and Linux. I installed Blender with Windows 10, and MacOS. Below is showing how we can install Blender in Windows and Mac. I believe that it also works for Windows 11. We can follow below steps to install Blender on our Operation System. Hope this helps.
How to install Blender in Windows 10
1. Check your workstation specification
Check your system specification if this is match the Blender Requirements. If Windows Users, we can check the Windows version, and Hardware requirements like as CPU and GPU. Please go this link to see Blender Requirements, to get the updates.
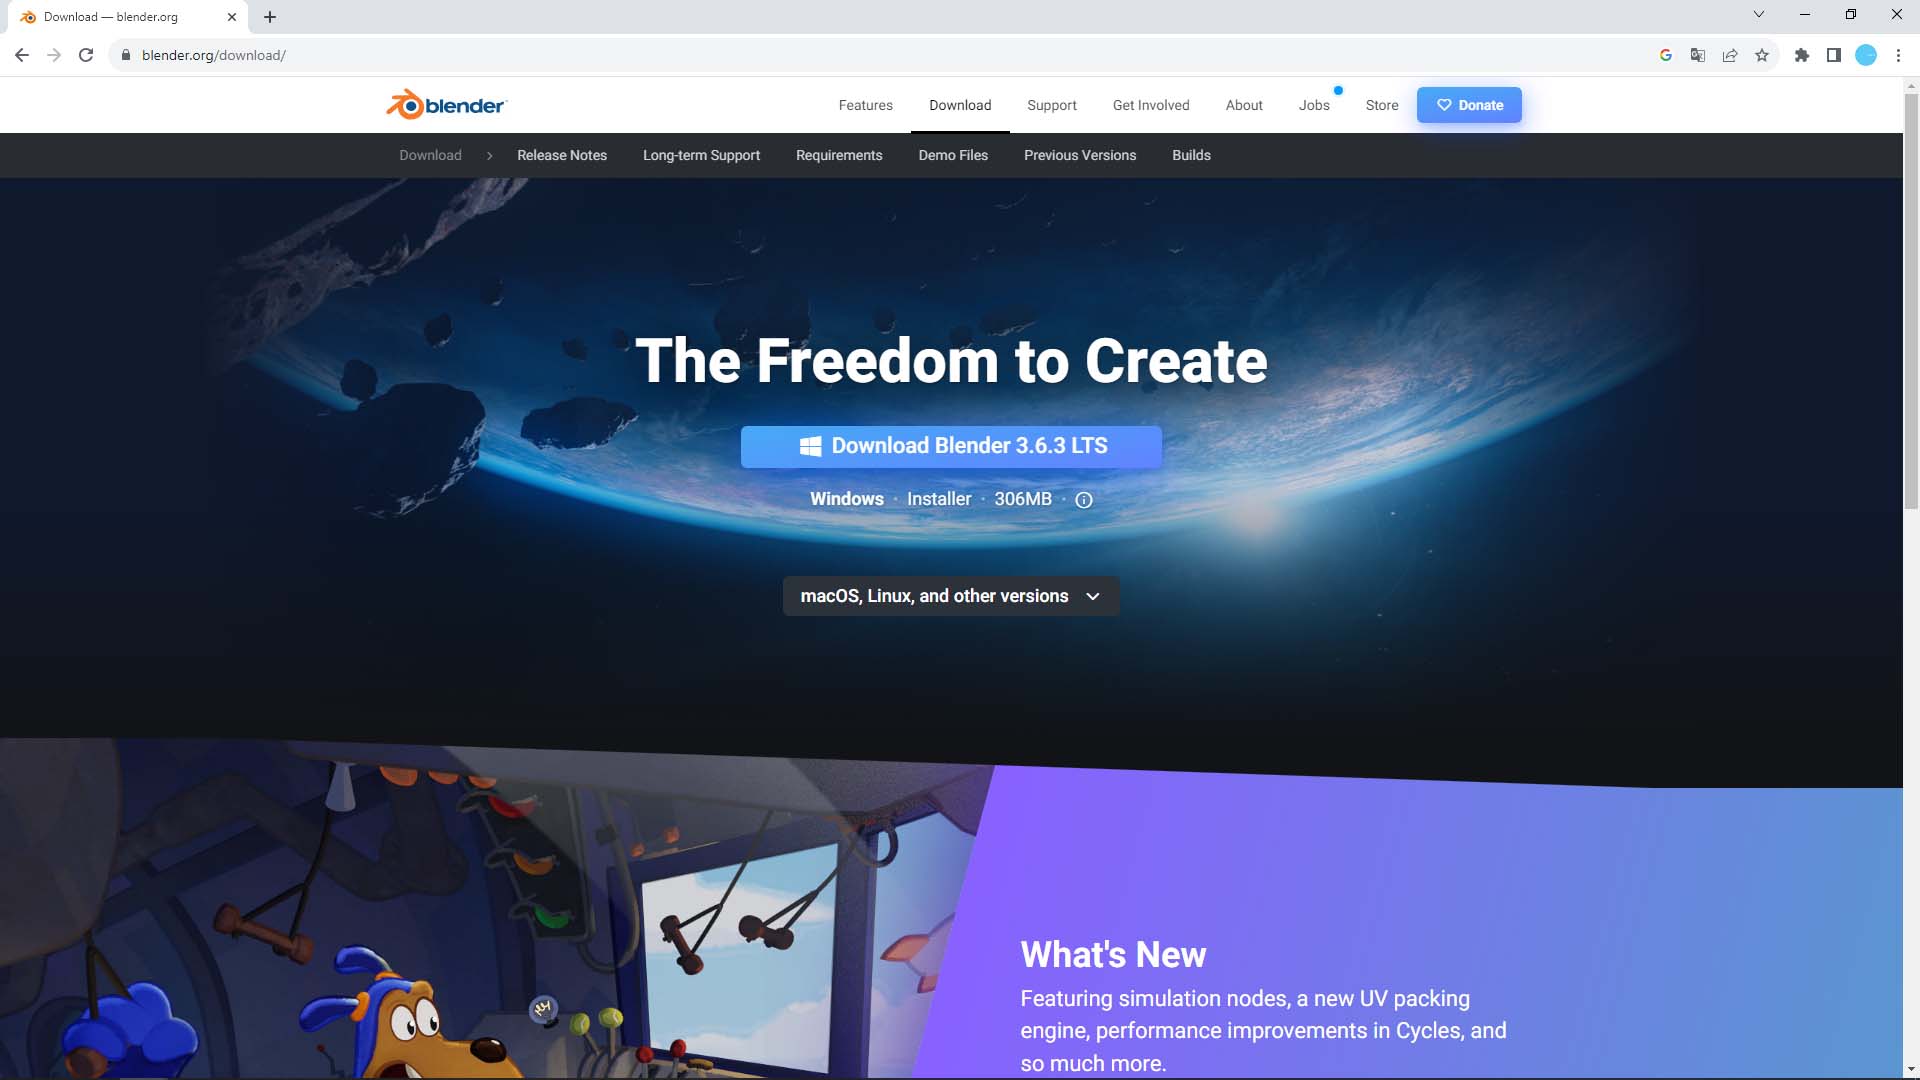
2. Download the installer
We can free download the Blender installer on official website through this link.
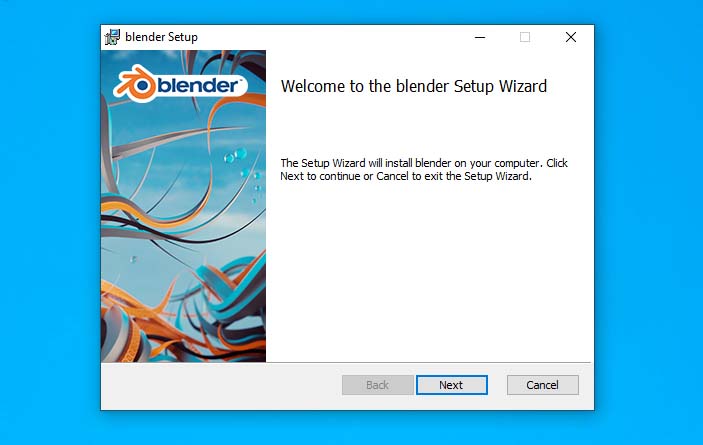
3. Start to install
After downloading the installer. Double click to open Blender Setup. I am using Windows 10 and have screenshot as below. We can follow the step instruction to finish the installation.
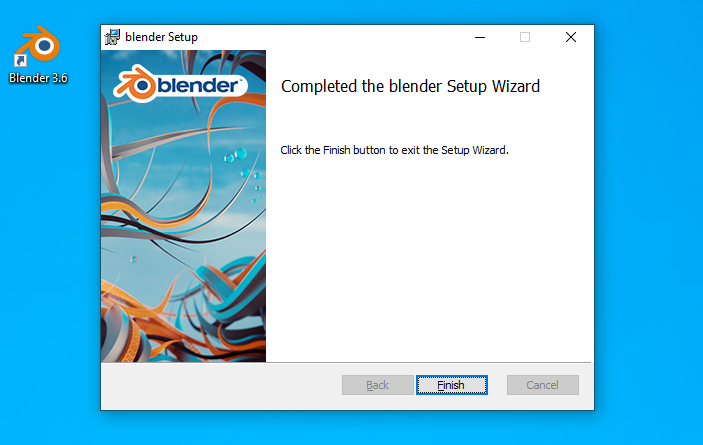
4. Blender Installed
After processing the installation of Blender, we can get the Completed Message in Blender Setup Window. Now we can find the shortcut of Blender on desktop, we can start to create 3D assets using Blender now!
How to install Blender in Mac
1. Check your MacOS system requirements
Check your Mac OS version , I am installing Blender 3.6.3 LTS , it is supported with MacOS 11.15 Intel or 11.0 Apple Silicon. Please check official system requirement here if you have other version of Blender.
2. Download Blender
We can be Free Download the Blender Installer for Mac on official website at this link.
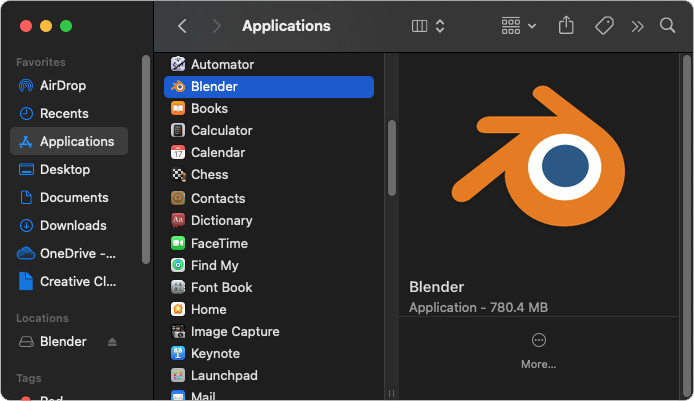
3. Start to install
Double click to open Blender installer, we can click and drag Blender into Application Folder.

4. Open Blender
After copying Blender into Application Folder, we can find and open Blender.
Let’s create with Blender! Click here to subscribe this YouTube channel, more video will be shared with you. Let’s create with Blender together!
Feel free to watch more video on【YouTube Playlist】
Hope this helps. More Blender Tutorial, Tips and Tricks are available here.
Have fun with CGI. Let’s Create!
#cgian #b3d #blender
Continuous Reading:
How to update Blender
Best Computer for Blender – CPU and Graphic Cards
Best Blender tutorials on YouTube 2023
How to make a 3d model in Blender for beginners
Feel free to share with your friend.
by [email protected]
