
The upper image shows before and after by using high pass filter in Photoshop. We can using High Pass filer for sharpening the image, like as sharpening the facial detail and muscle detail when editing a model image. Below shows the steps how we can make high pass filer in Photoshop. Hope this helps.
How to sharpen with high pass filter in Photoshop
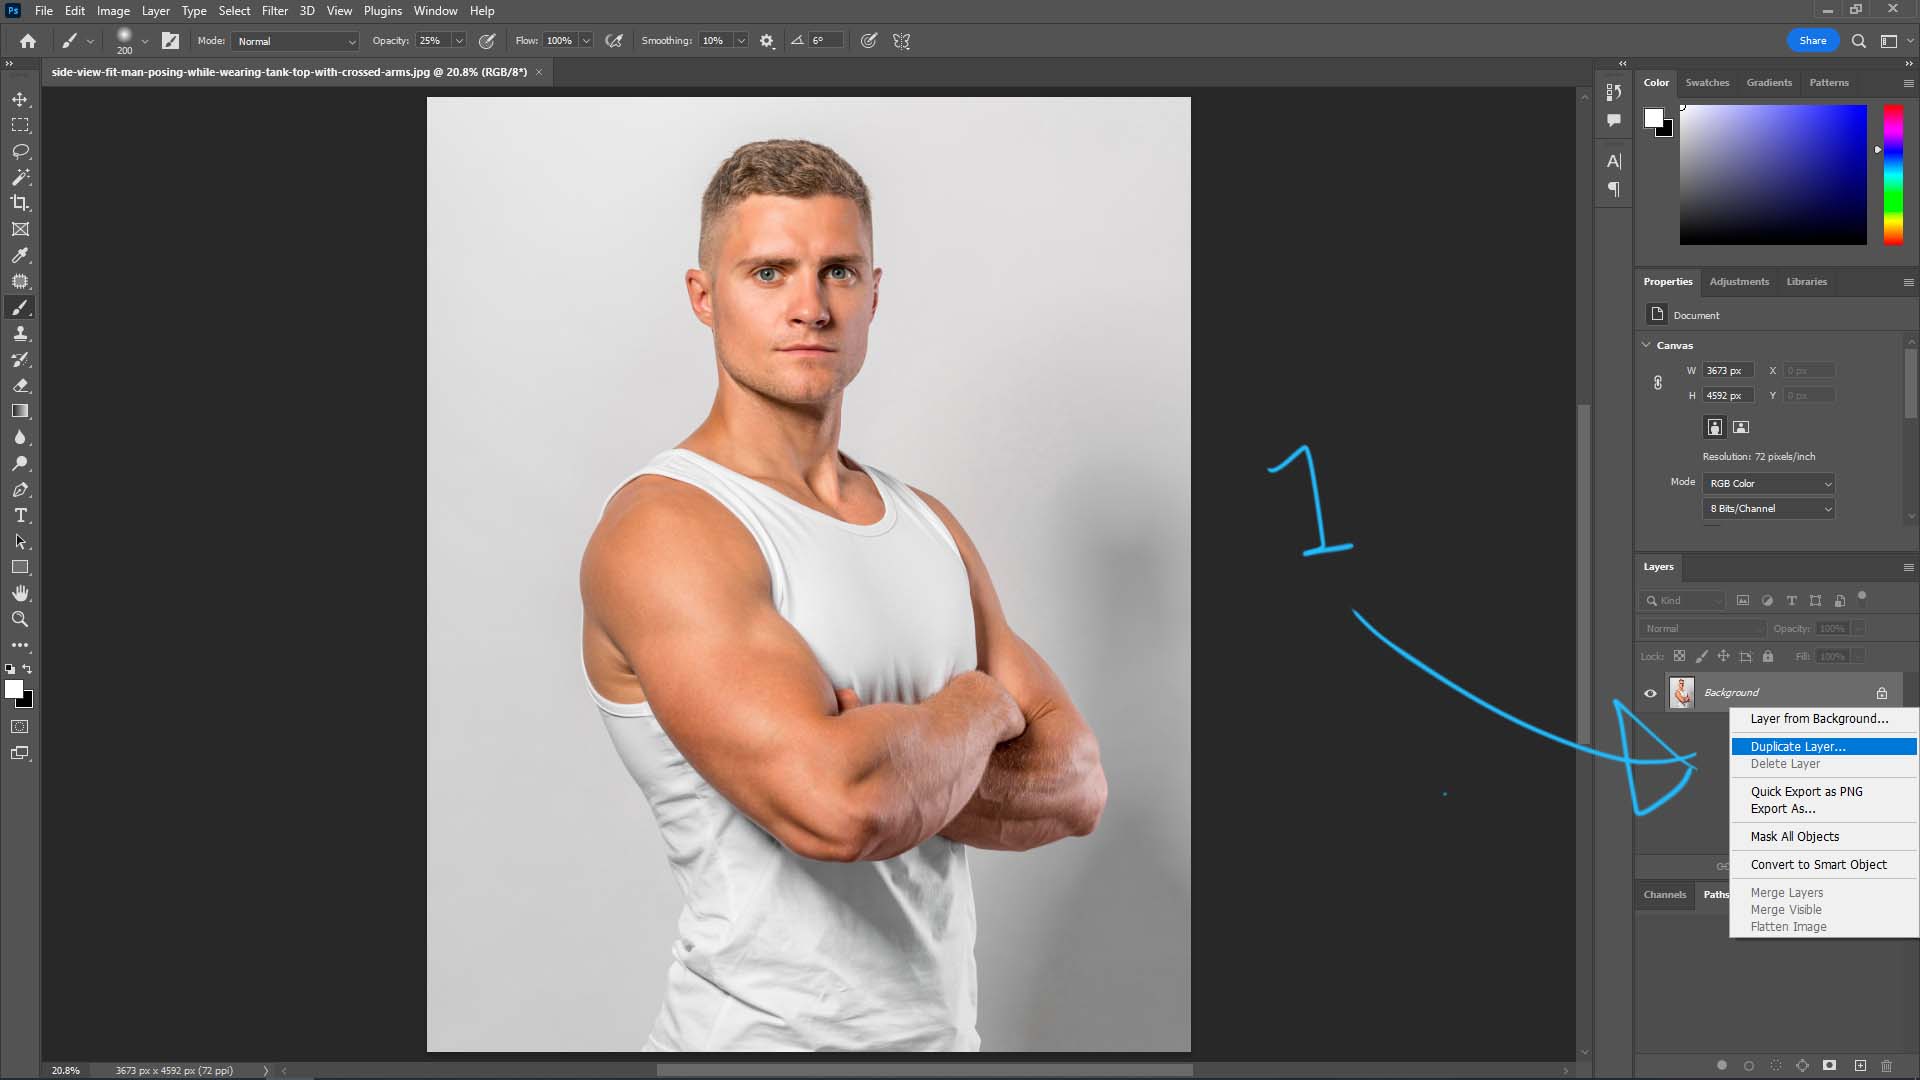
1. After opening an image, we can duplicate the image layer by right click on layer, as per below screenshot.
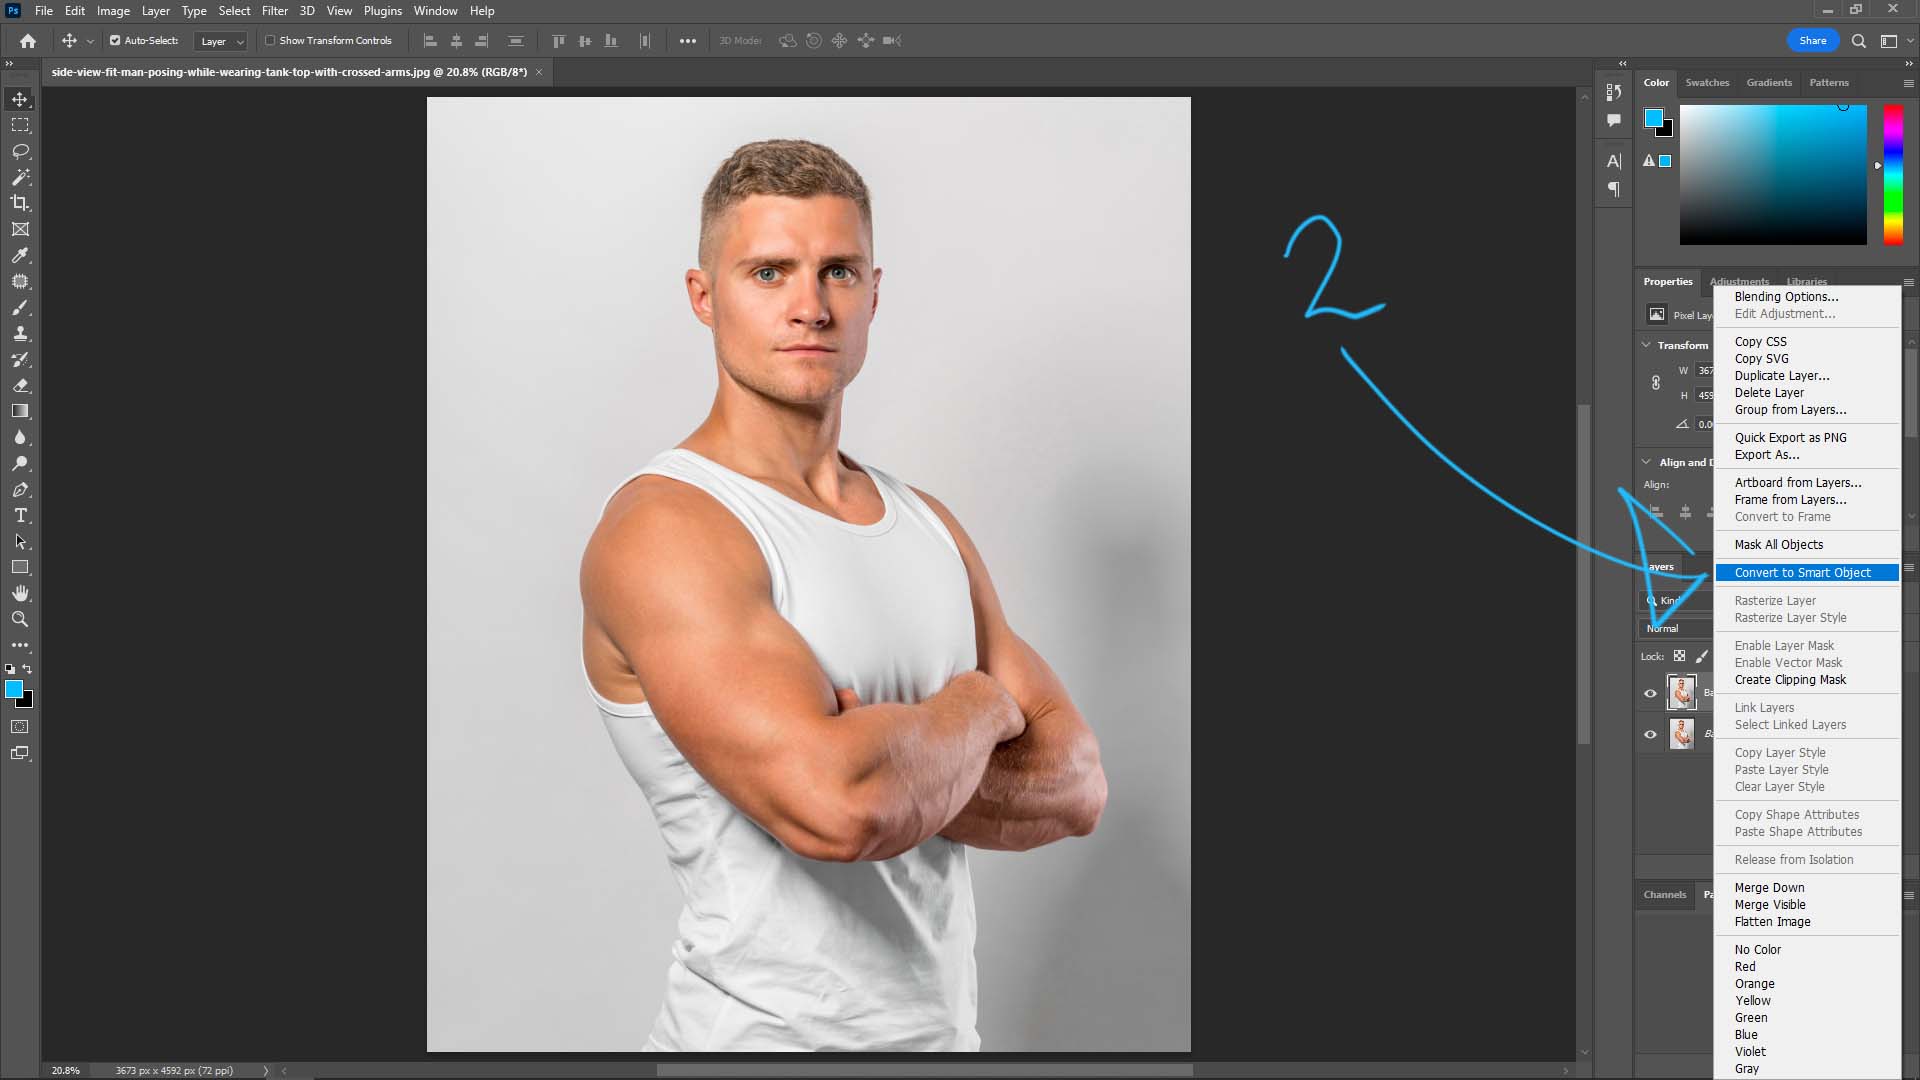
2. After duplicating the layer, then right click the new layer, and choose “Convert to Smart Object”.
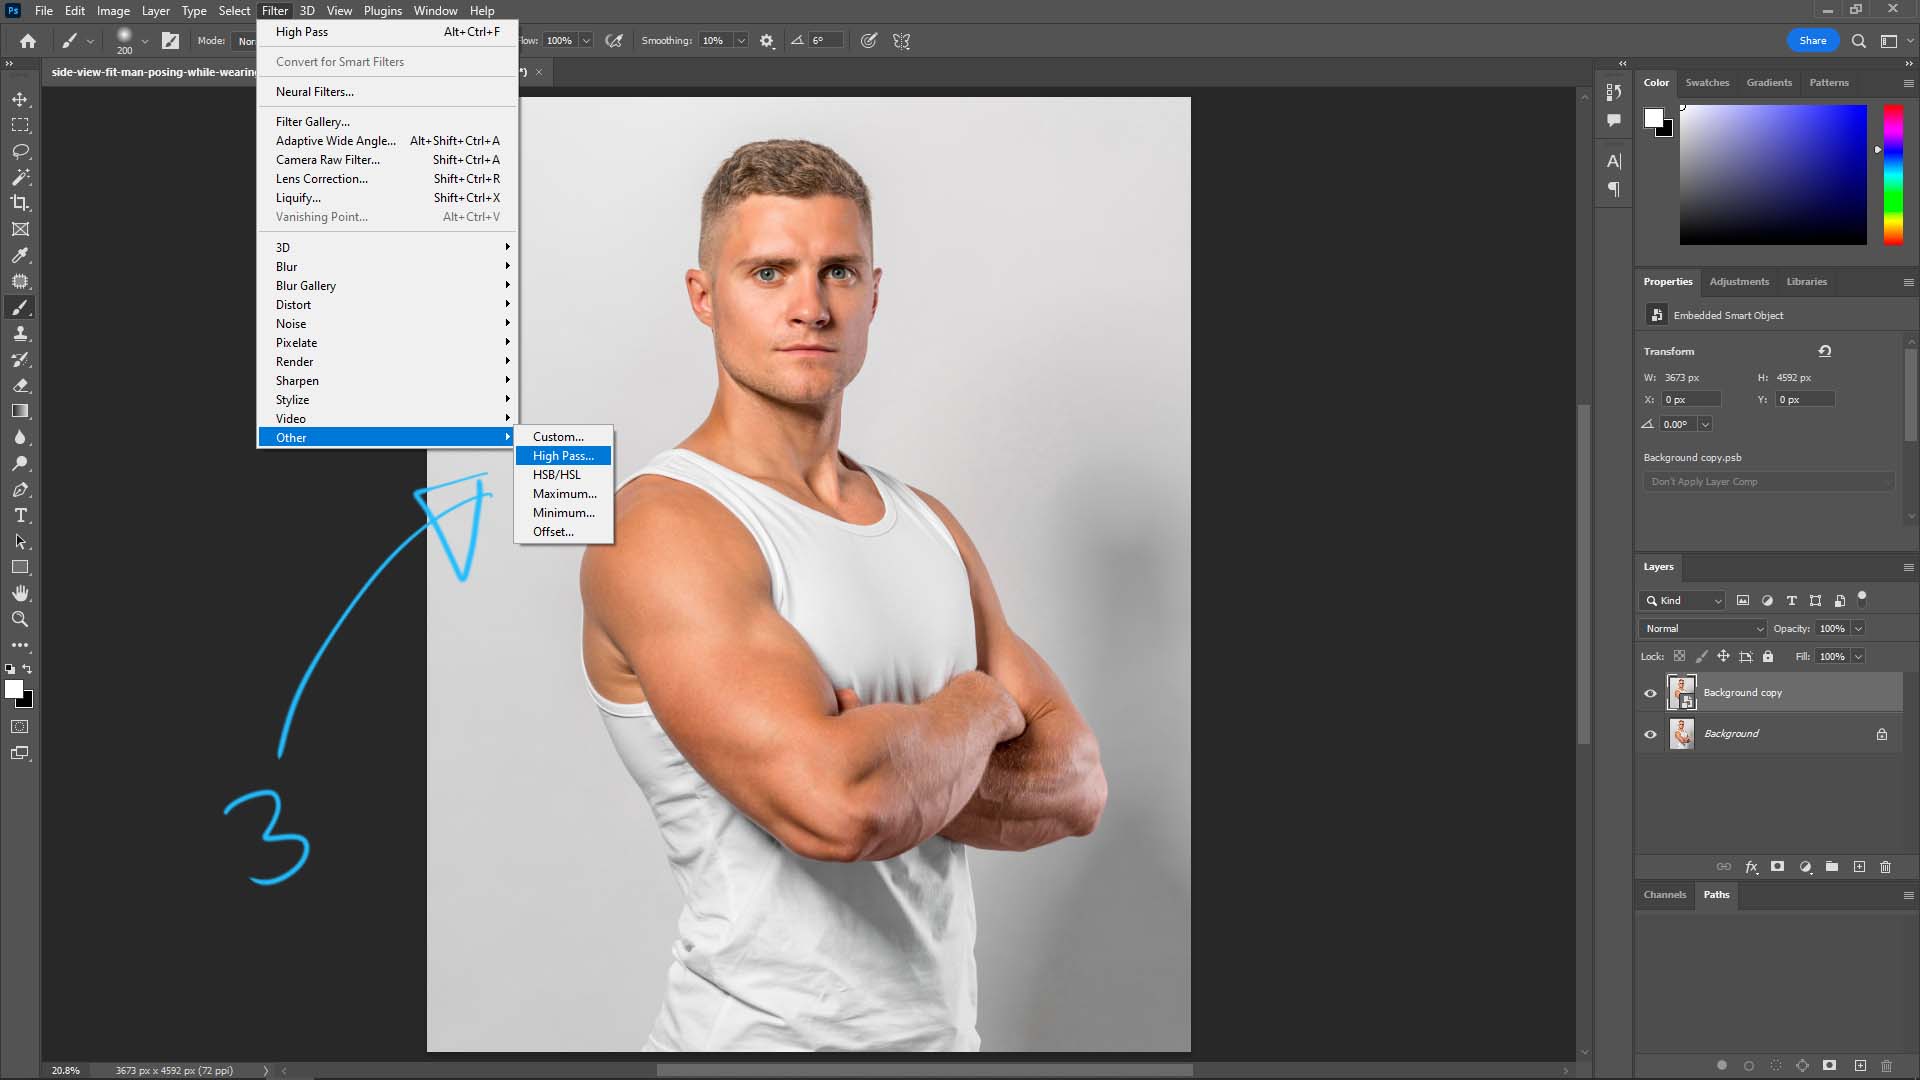
3. Then go to Filter > Other > High Pass …
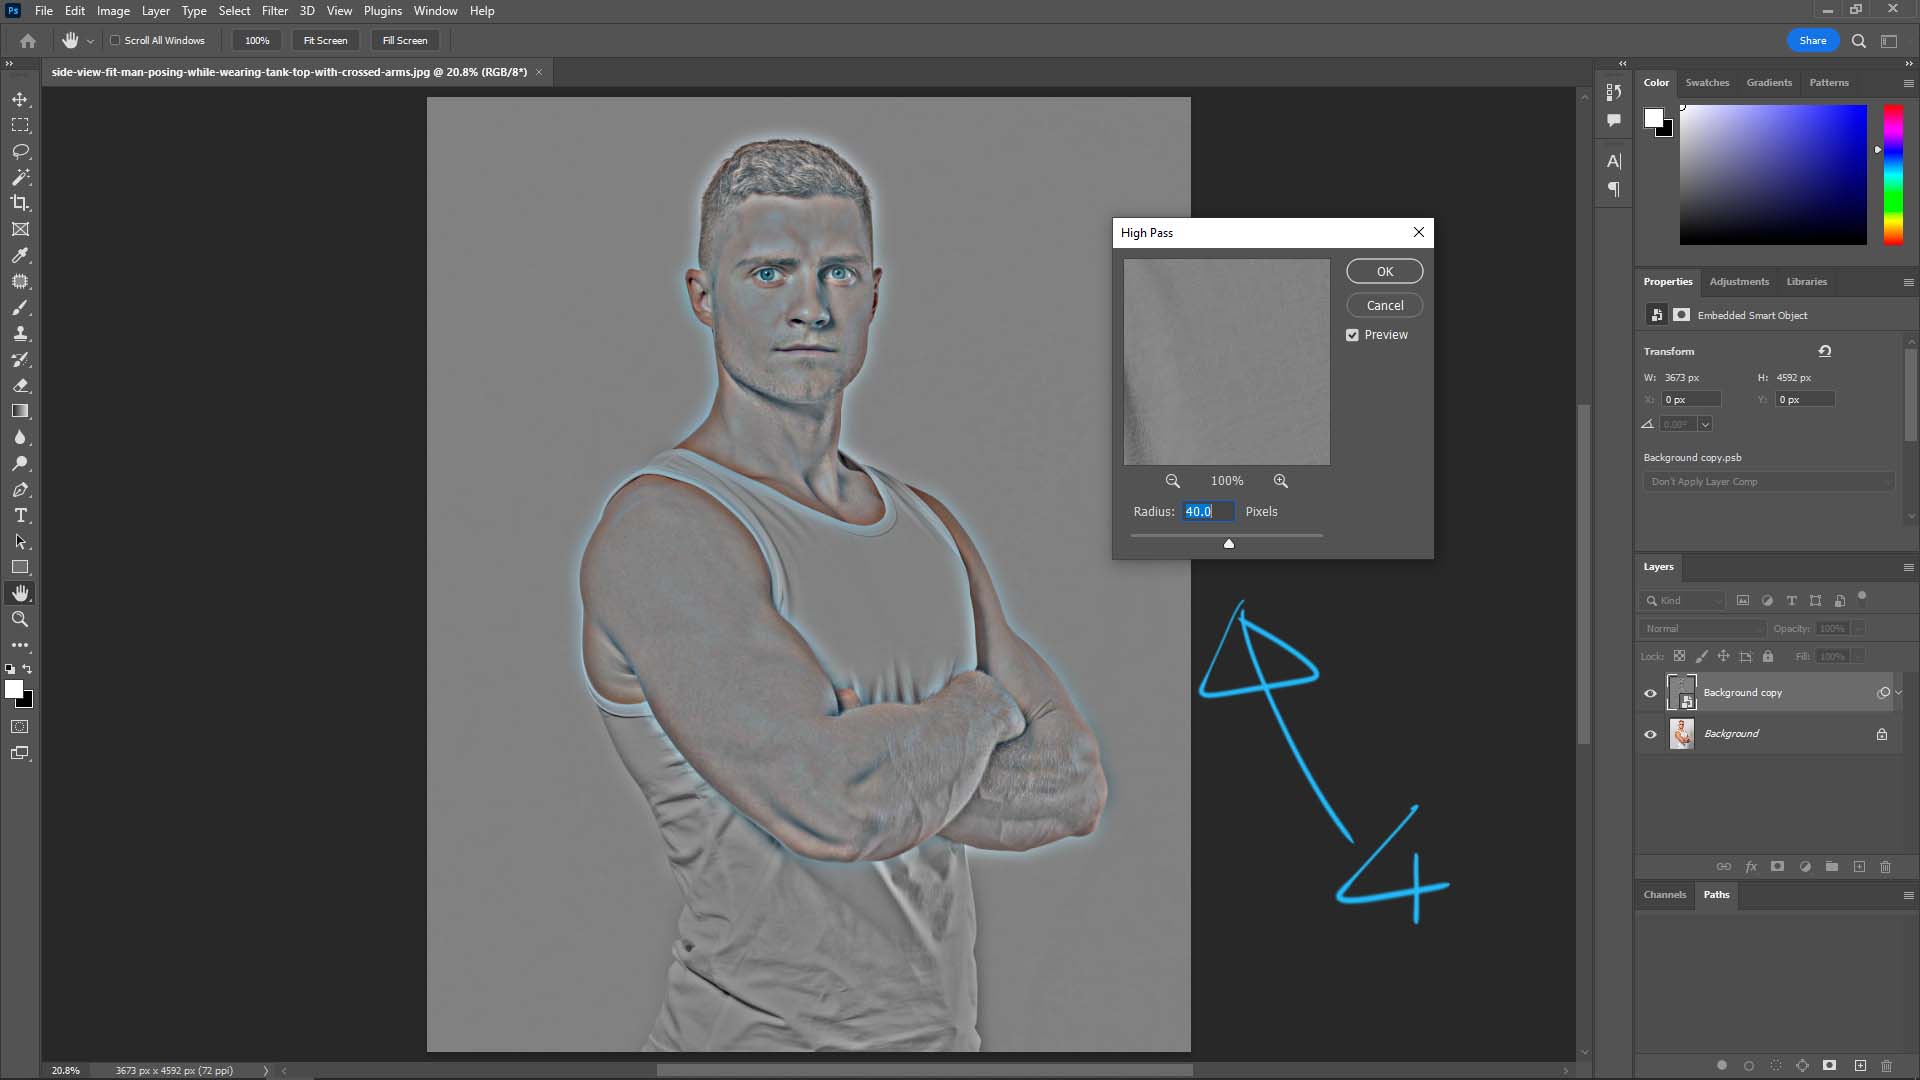
4. In the High Pass Option Windows, we can adjust the Radius in Pixels, the value is depend on your preferred. In general, high value will give more sharpen high pass filter effect.
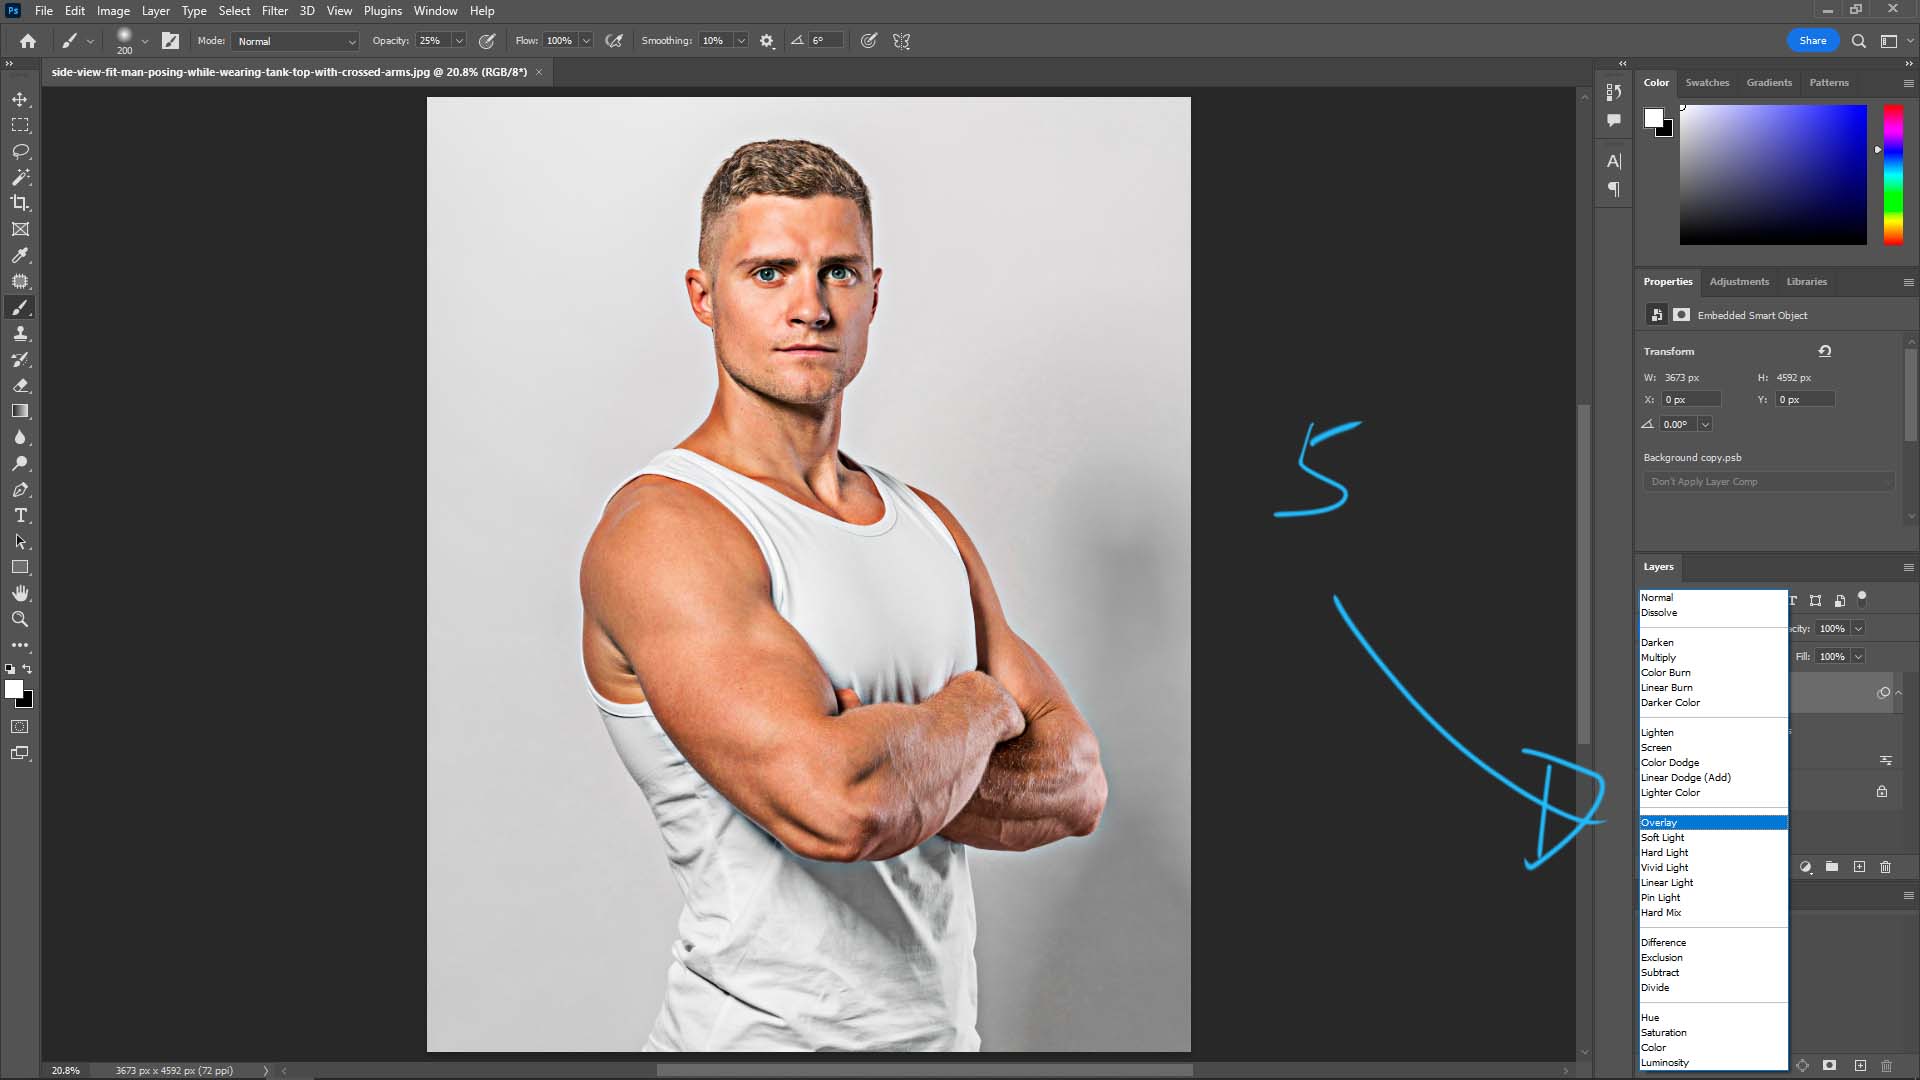
5. Go back to Layer, choose Overlay to the Layer Property for the High Pass Layer, then the image will be sharpened as showed below.
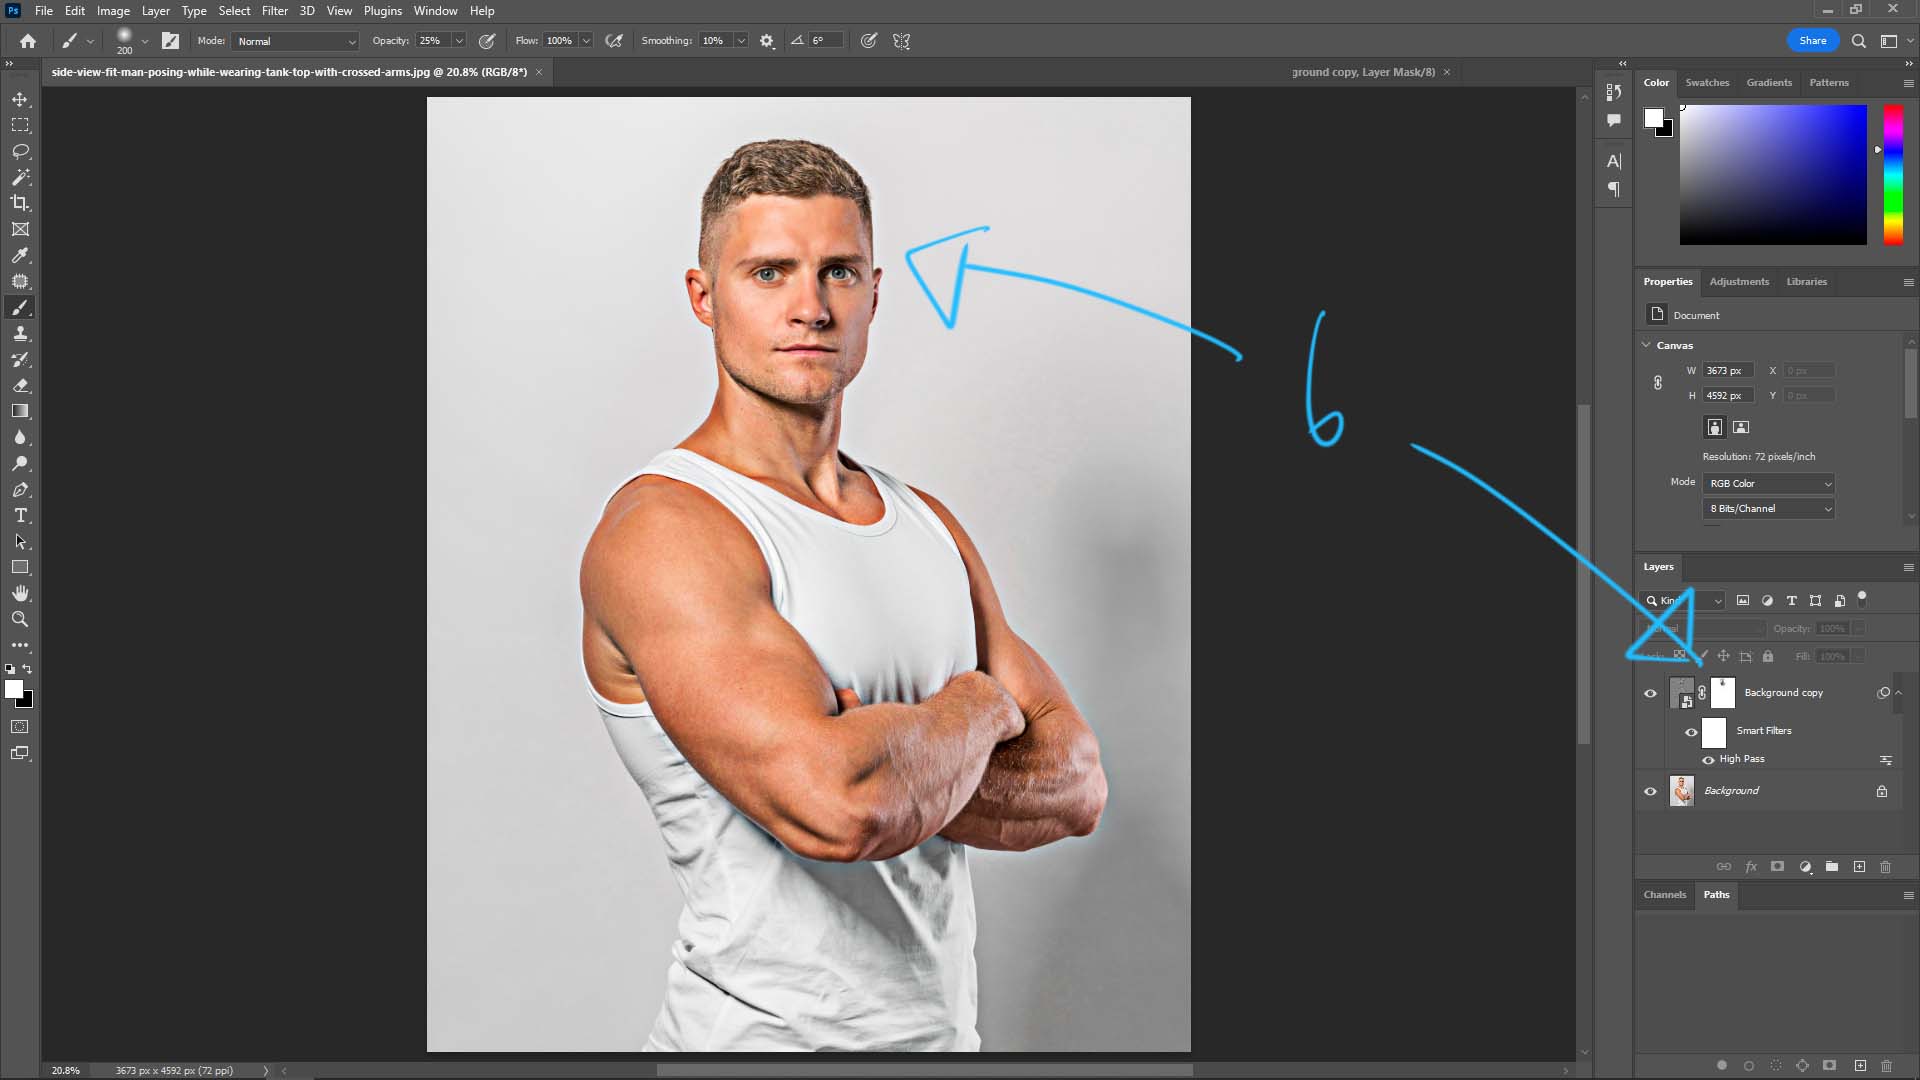
6. Furthermore, we can add mask to the High Pass Layer to adjust the area that less sharpen or more sharpen.
This is how we can sharpen the image by using high pass filter in Photoshop. Hope this helps.
Let’s play with Adobe together!
Have fun with CGI, to make it simple.
#cgian #aritstB #adobe #photoshop
Continues Reading :
How to remove background in Photoshop 2023
How to remove white background in Photoshop
Generative Fill Tutorial in Photoshop Beta
Photoshop Crop Image in specific size
Welcome to share with your friend using below buttons
by [email protected]
