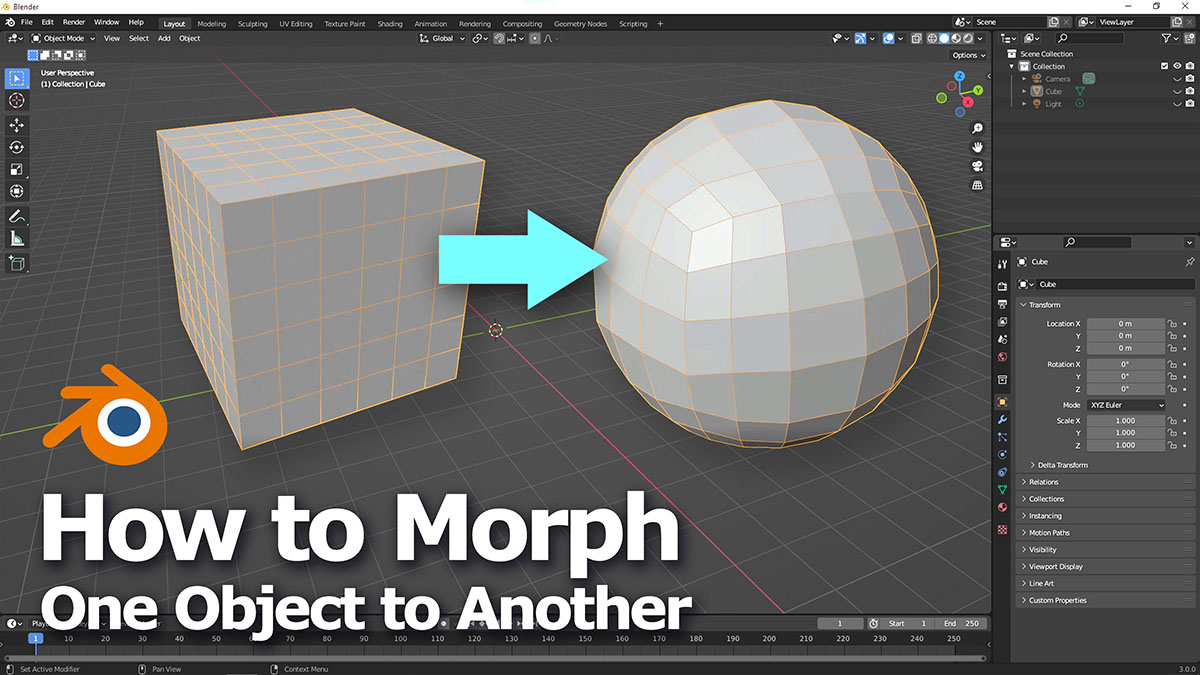
This is a video to show how to make Blender Morph between two objects, in the case study, the default cube is used to be morphing into Sphere Shape as morph target, this technique can be applied to morph One Object to Another Object as you want. And the video show how to insert keyframe on timeline for animation purpose, all the steps are basic for Blender Beginners in this tutorial. Hope this helps.More Blender Tutorial, Tips and Trick are available here.
How to Morph between two objects in Blender
Watch on YouTube Video,
The video that applied Toon Shader,
Timestamp
0:00 Intro – final morphing effect between two objects
0:13 Start with default cube
0:53 Apply modifier – shrinkwrap and set target
1:15 Edit Object Data Properties for morph shapes
1:26 Insert Keyframes for Morph Animation
1:43 Final Blender Morph Animation setup
Click here to subscribe this YouTube channel, more video will be shared with you. Let’s create with Blender together!
Feel free to watch more video on【YouTube Playlist】
Have fun with CGI, to make it simple.
#cgian #aritstB #b3d #blender
Continues Reading :
3 Ways to make Blender Quad Sphere
3D Product Animation Showcase – Chocolate Bar Wrapper 360 Rotation
Roasted Coffee Bean | 3D Model Showcase 360 Spin | Green Screen for Video Stock Footage
Welcome to share with your friend through below buttons.
by [email protected]
