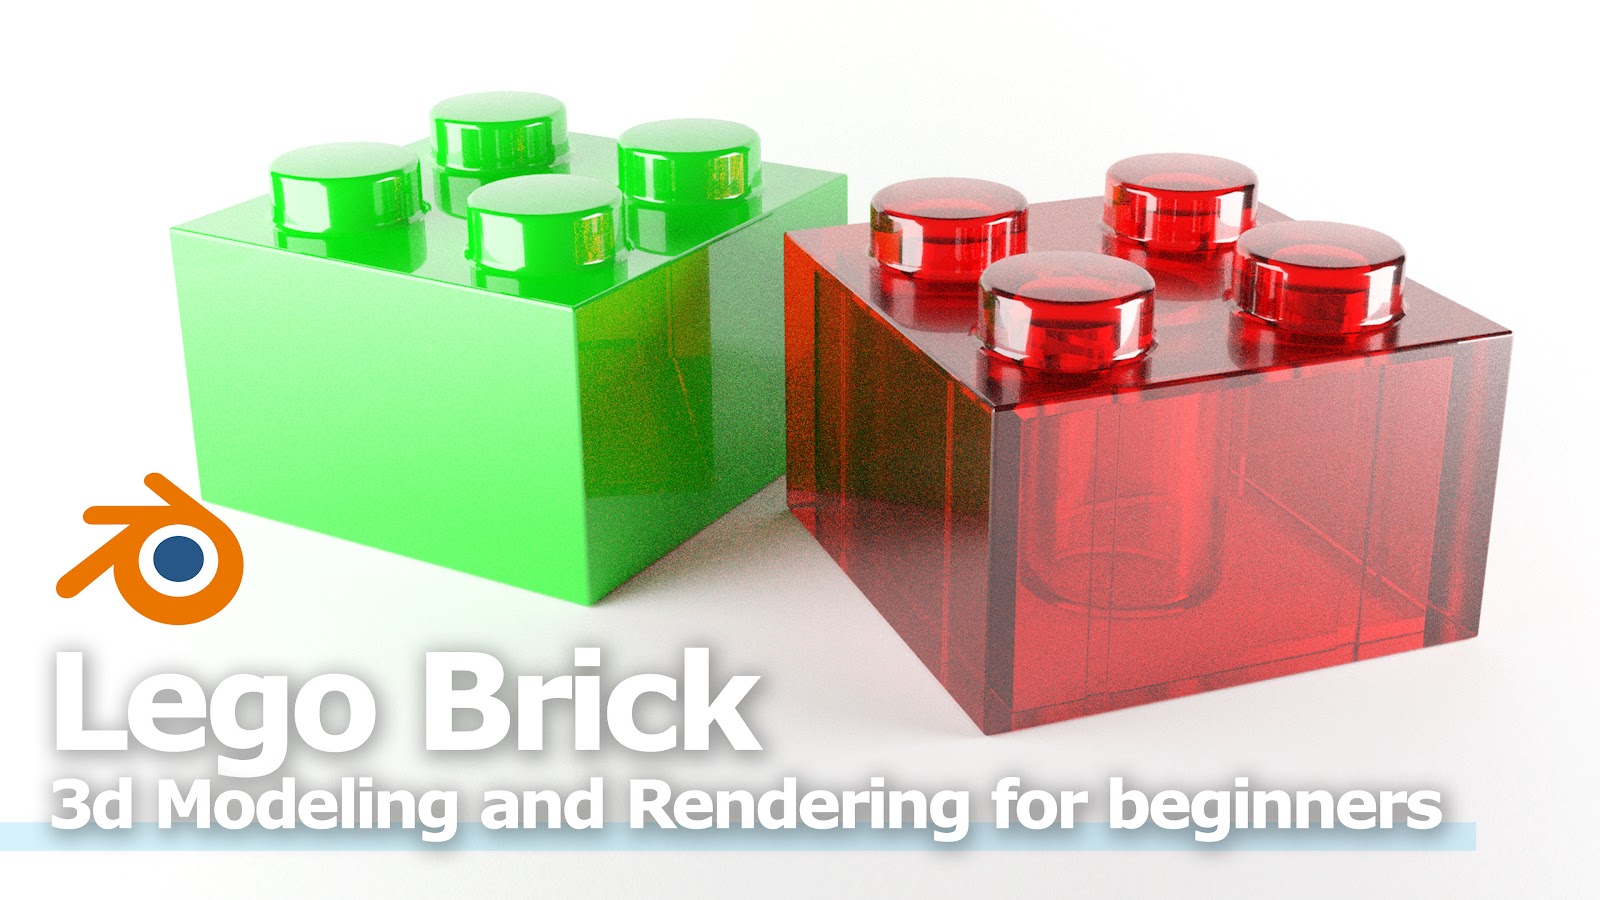
This is a video tutorial for beginners to understand how to make Hard Surface Modeling and Rendering in Blender 3D software, using Lego Brick for case study. They shows the steps of 3D modeling, 3D rendering and material setup – gloss plastic and translucent plastic material shader. We can have many various ways to make the 3D hard surface modeling and rendering for 3D Product , 3D Packaging or other 3D Furniture. Below is one of simple example to show the key procedures how to make 3D Lego Brick from Image Reference to Final 3D rendering image. Hope this helps! More Free Blender Tutorial here.
What is Hard Surface Modeling?
Hard Surface Modeling is a 3D modeling process to build the 3D objects with hard surface. Comparing with organic modeling like as human characters, animals, plants etc., Hard surface modeling are described to build 3D model like as house room setting, vehicles, weapons, robots, etc.
3 Steps to Make Lego Brick 3D Modeling and 3D Rendering
1. 3D Modeling
According to Wikipedia, 3D modeling is the process of developing a mathematical coordinate-based representation of any surface of an object (inanimate or living) in three dimensions via specialized software. The 3D models are used for a variety of mediums including movie industry, game industry, engineering, architectures, commercial advertising, and 3D printing as well. We can get the 3D model by using 3D scanning technology. In this example, we use the software to build the 3D model and for 3D rendering, the rendering images can be use for commercial use, including online marketing.
Watch on YouTube,
Download the reference image of Lego Brick for 3D modeling
2. Scene setup with lighting
After you have 3D model, and putting the color , texture, material into 3D model, you can setup a scene to rendering a image. The step will including to setup camera view, light setting, and environment scene setting.
3. Add Material, and Computer Processing Rendering
This step is to apply graphics, color, texture, finishing into 3D model. As previous step showed, the 3D model itself has no data about the color, texture, and material. In the step, it is define that the 3D model is plastic or metal, or glass, or wood etc. After assgin the material shader, we can start the final step, that is letting the computer process. After setting up the previous 3 steps, the computer processing rendering can be started, and then get the final image.
Watch on YouTube,
Bottom Line
These steps give the basic idea how to make Hard Surface Modeling and 3D Rendering be created. There maybe some simplified ways to create rendering in near future, but the critical steps are required to have a 3D model, add color/texture/finishing on it, and setup a environment to render it.
Let’s play with Blender~! Have fun with CGI, to make it simple.
Thank you for reading. Hope this can help!
Click here to subscribe this YouTube channel, more video will be shared with you. Let’s create with Blender together!
Feel free to watch more video on【YouTube Playlist】
Continues Watching:
Blender 3D Character Template – Free Download
How to make a Lego Man in Maya Blender
Rough Grainy Plastic Texture Material
Blender export SVG as color vector to Inkscape
Welcome to share with your friend.
by [email protected]
